Updated: December 7, 2021
inTERPRETATION OF nICHOLAS dEMERS’, tINY sTORE
Tools used: Autodesk Maya, Substance Painter, Marmoset Toolbag 3
Modeled Utilizing Autodesk Maya, Textured in Substance Painter, Rendered in Marmoset Toolbag 3

I was looking for inspiration for modeling and I came across this piece by Nicholas Demers on artstation. I thought it was unique but also a bit challenging for myself as it involved modeling different pieces such as trees and bushes as well as many different types of textures such as glass, cobblestone, and brick.
Reference from Nicholas Demers
This project really took me for a joy ride. From my Substance Painter crashing to UVs not fully being exported…it was an experience.

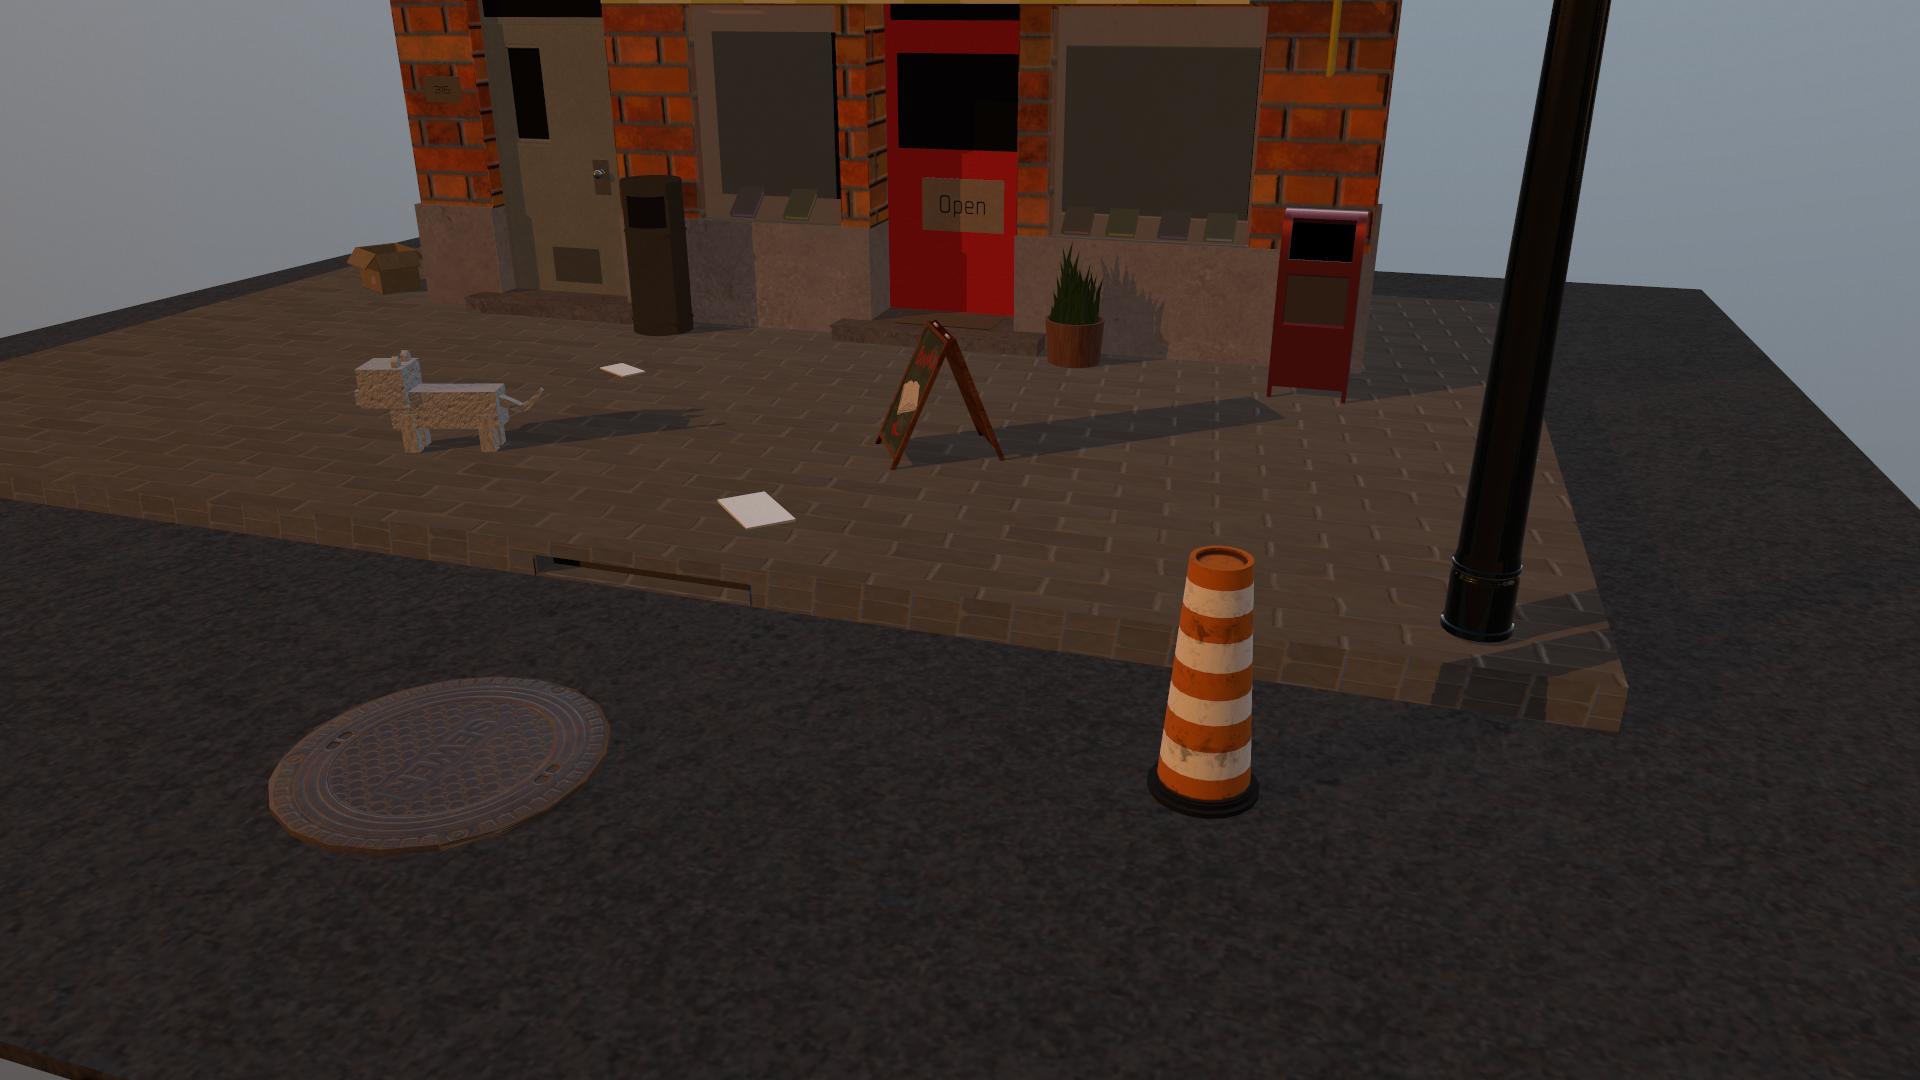
While I did not take a ton of mid-modeling pictures, I managed to snag this one as I remember being quite excited that I had a really good foundation during the first day that I sat down and started this piece.
As per usual, I always started out with a white-box via Autodesk Maya. For this specific model, I began with the main focus: the building. The props came directly after and then it was onto texturing for the next couple of days.
Please enjoy my little Minecraft cat!
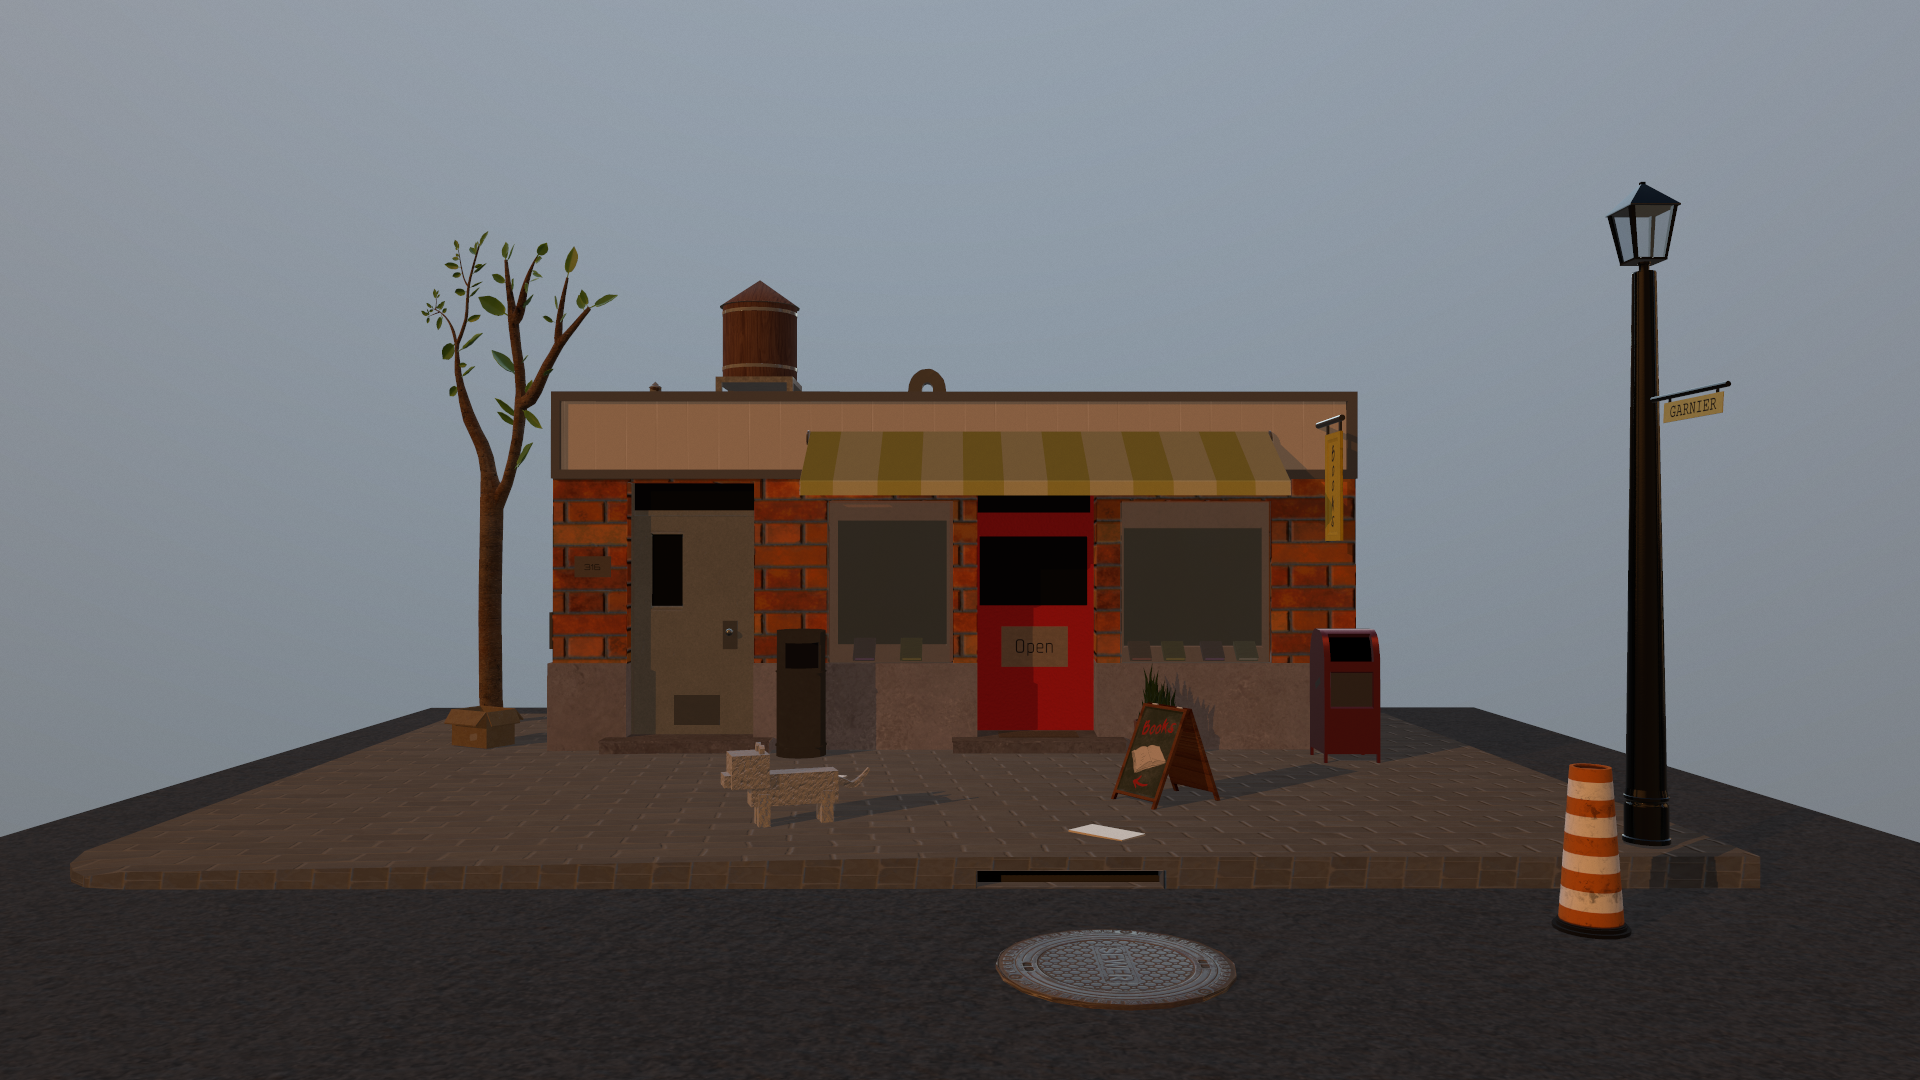
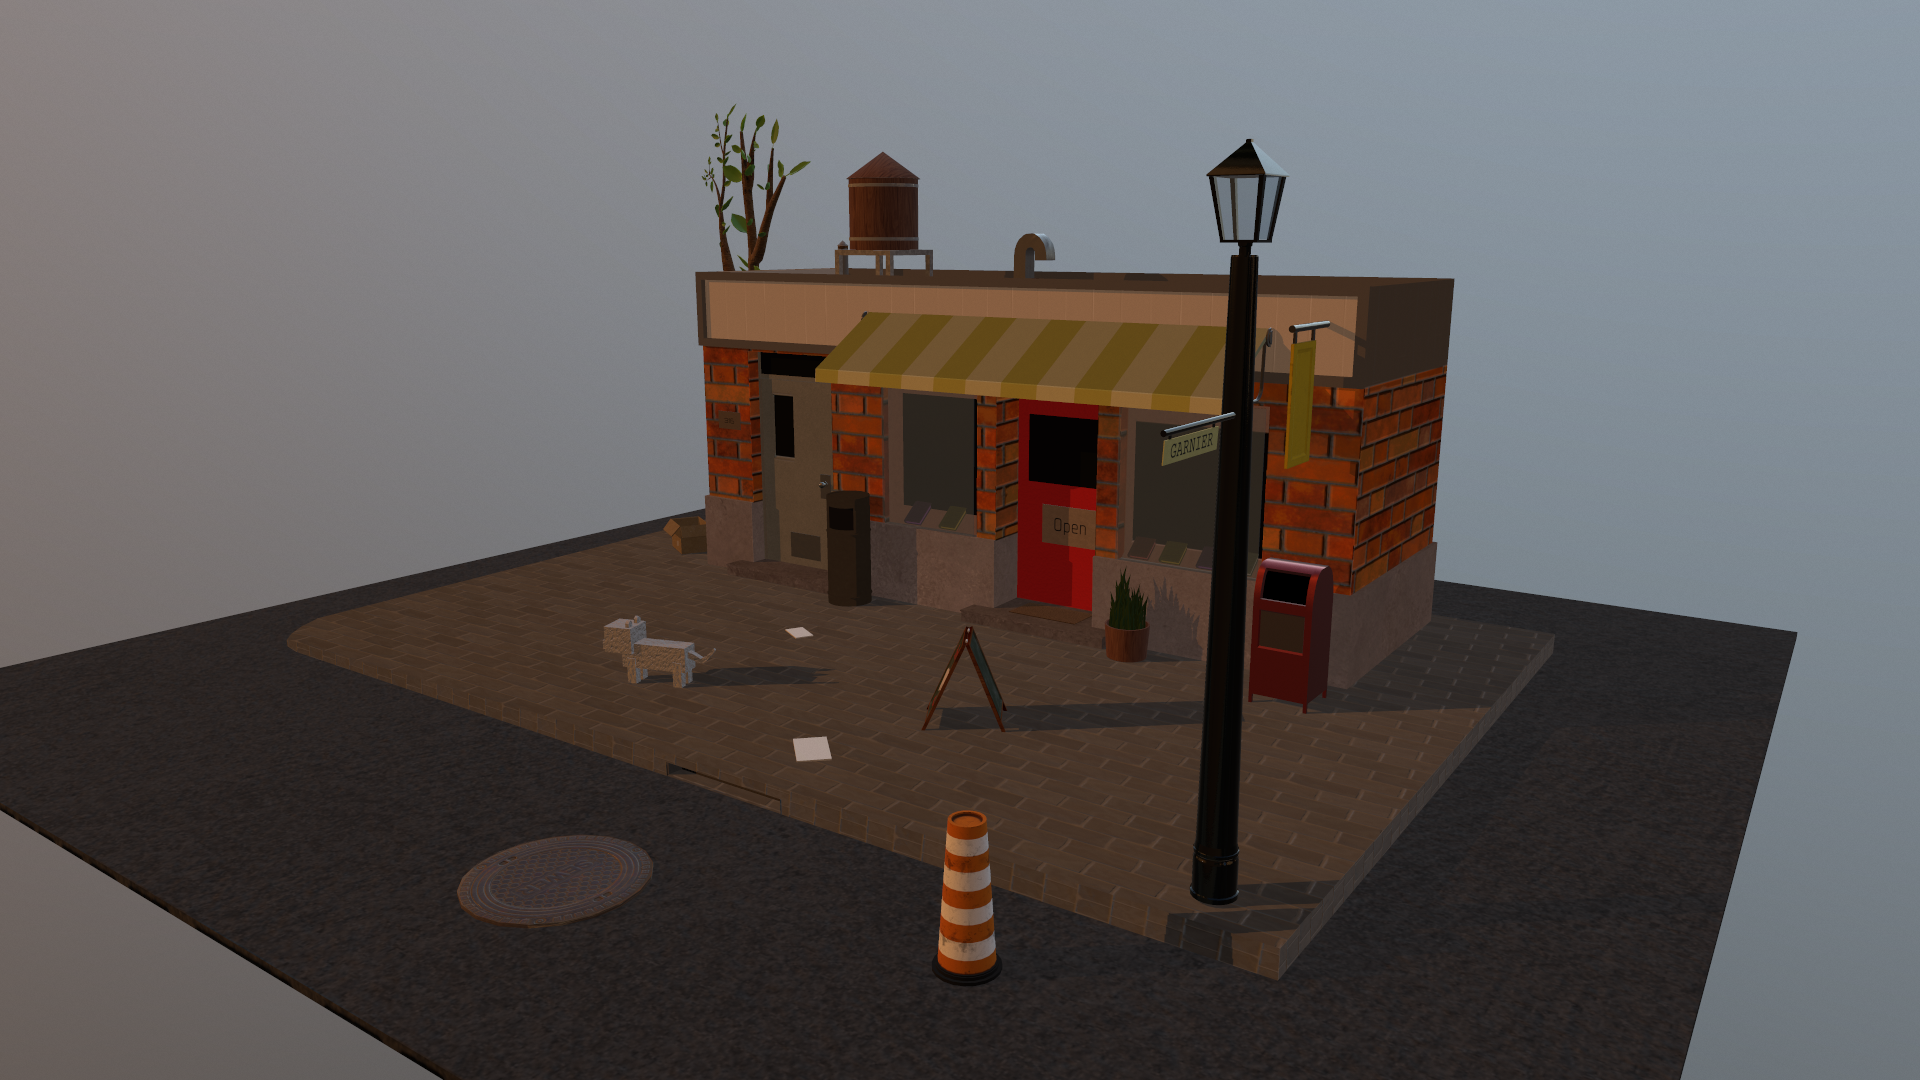
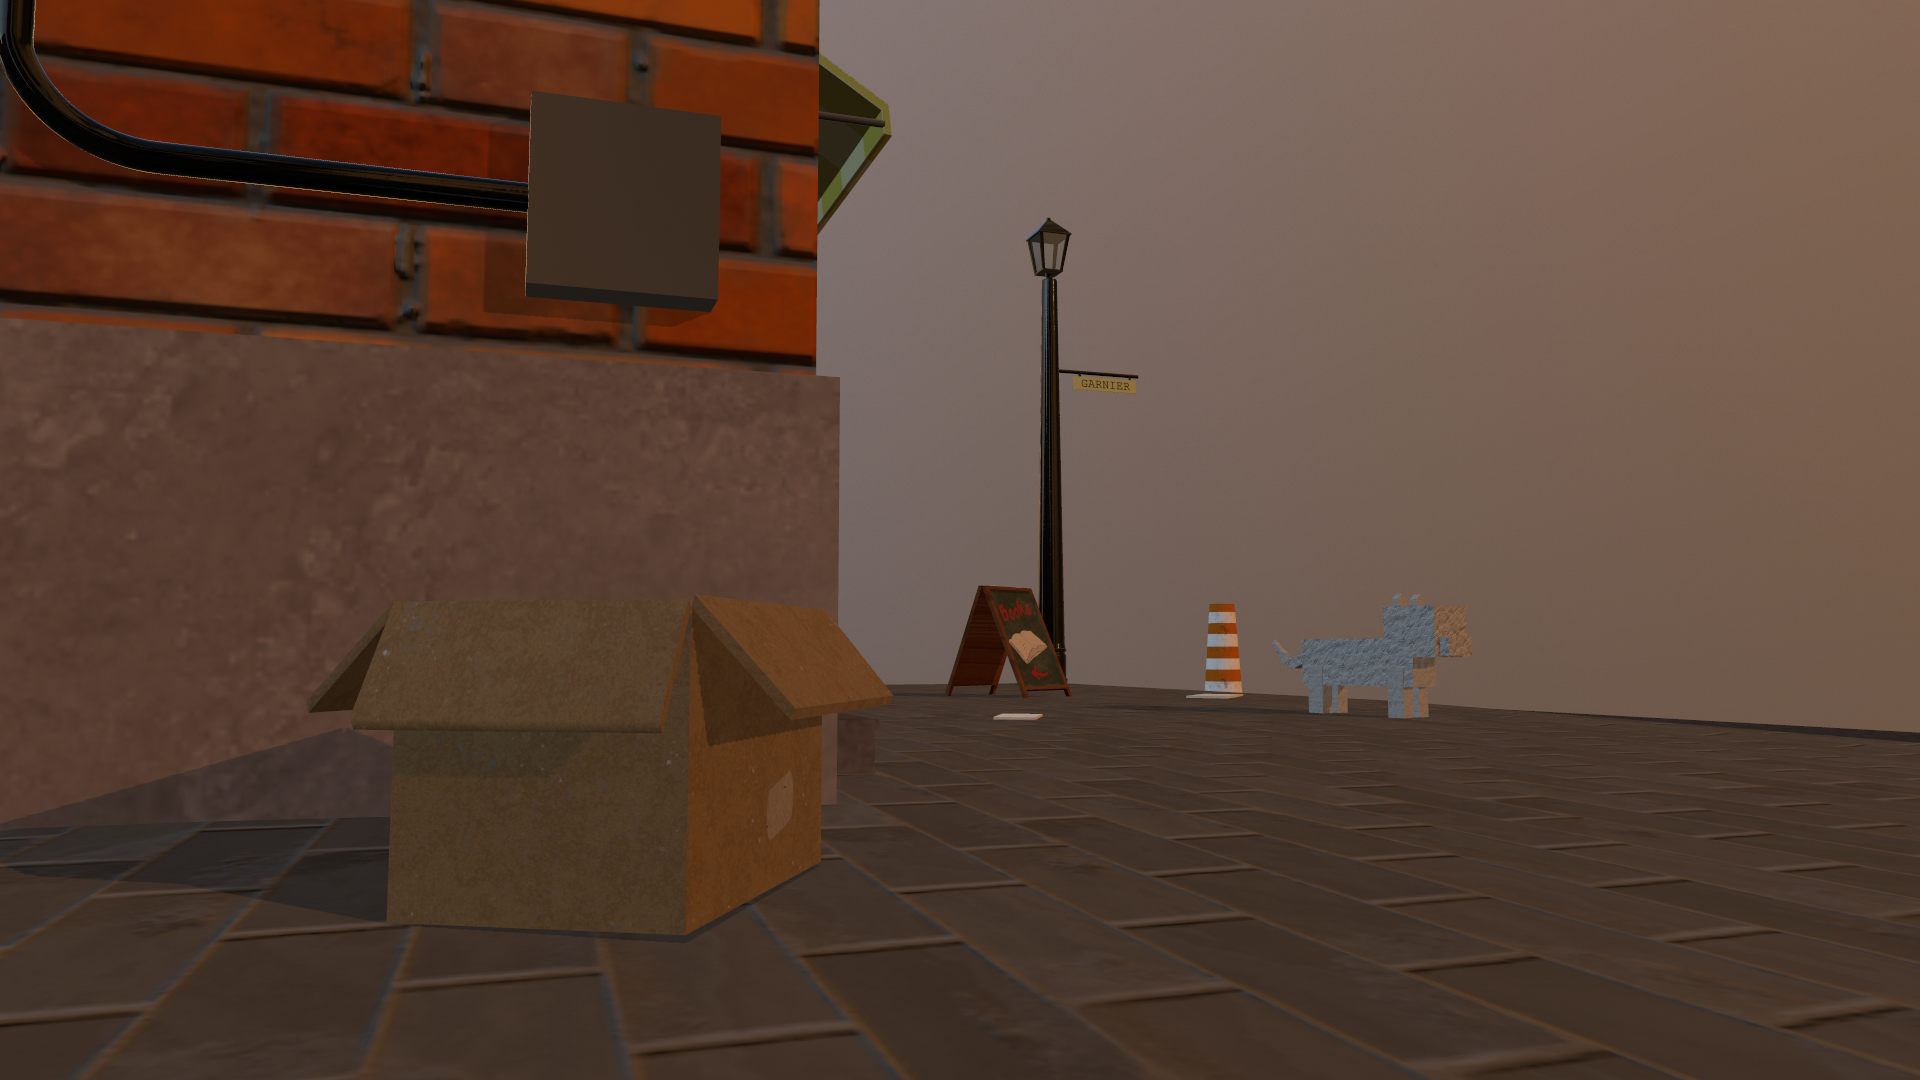
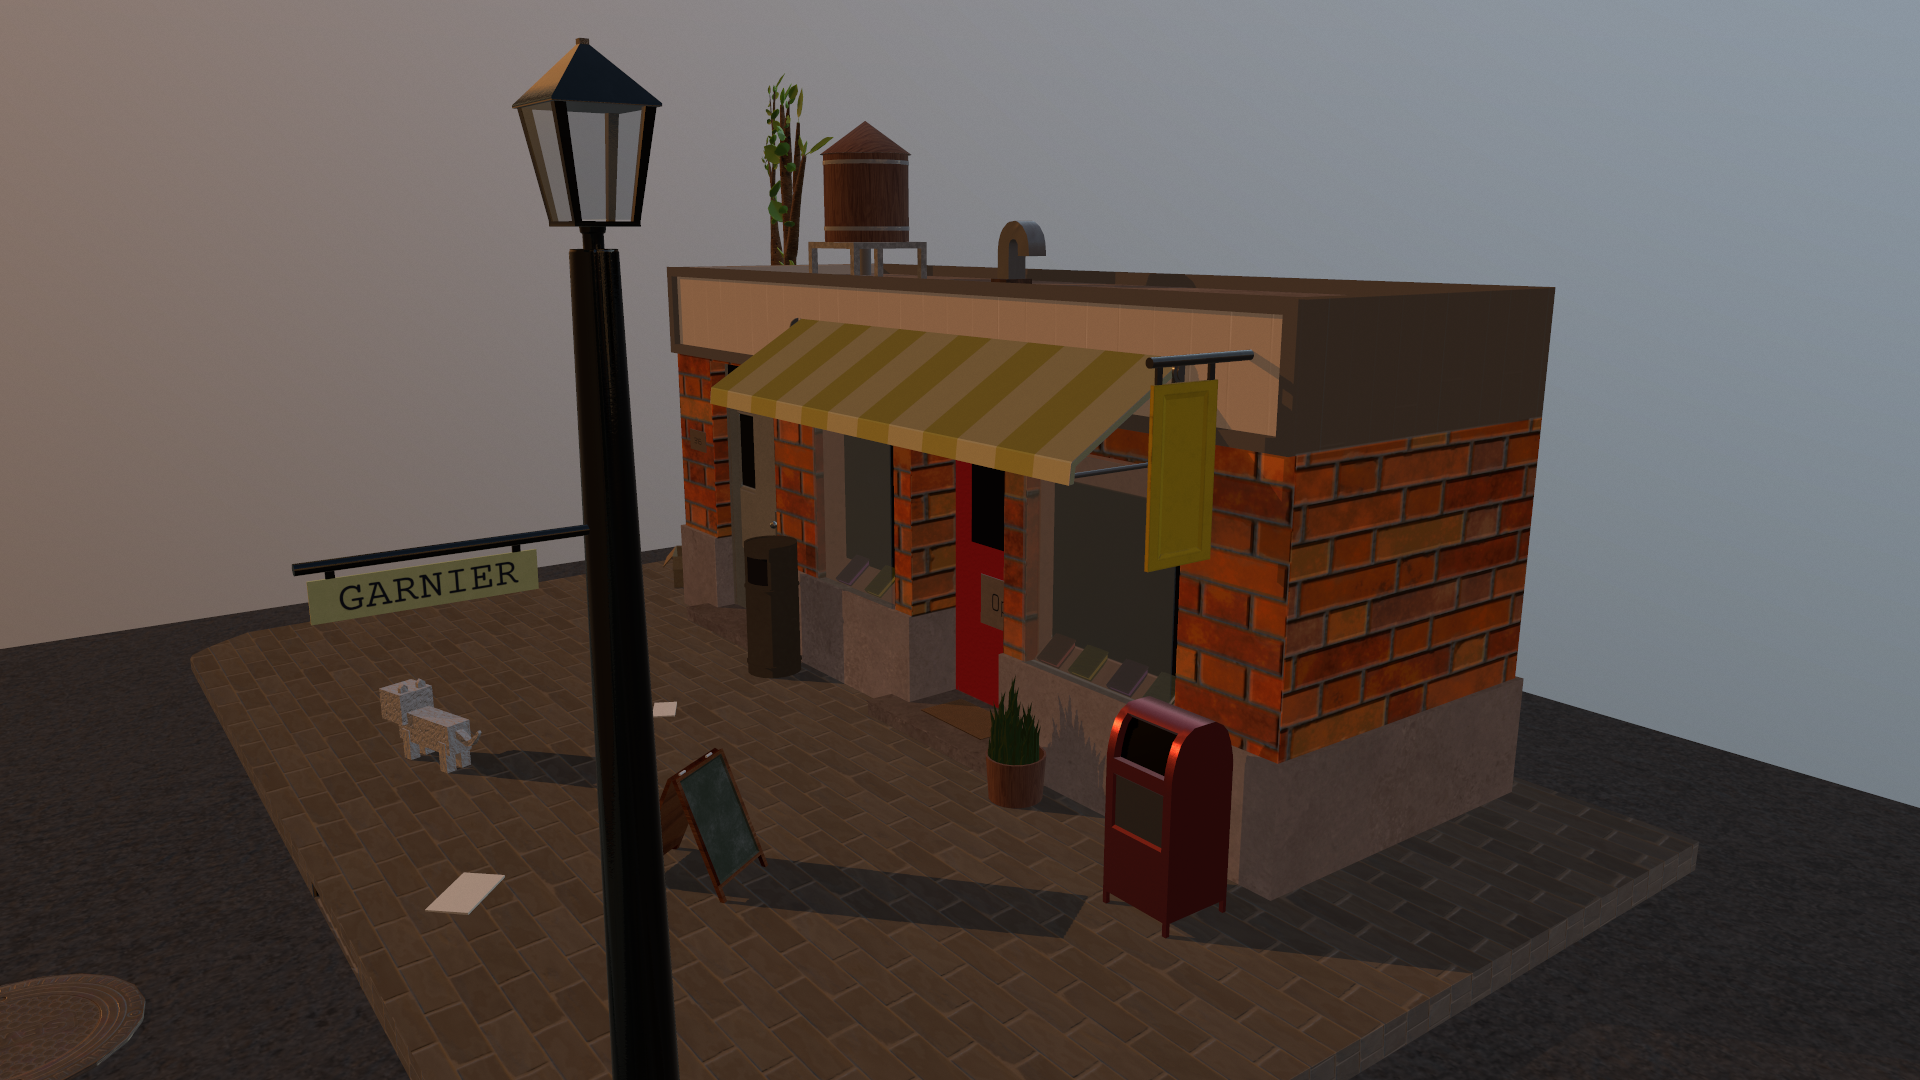
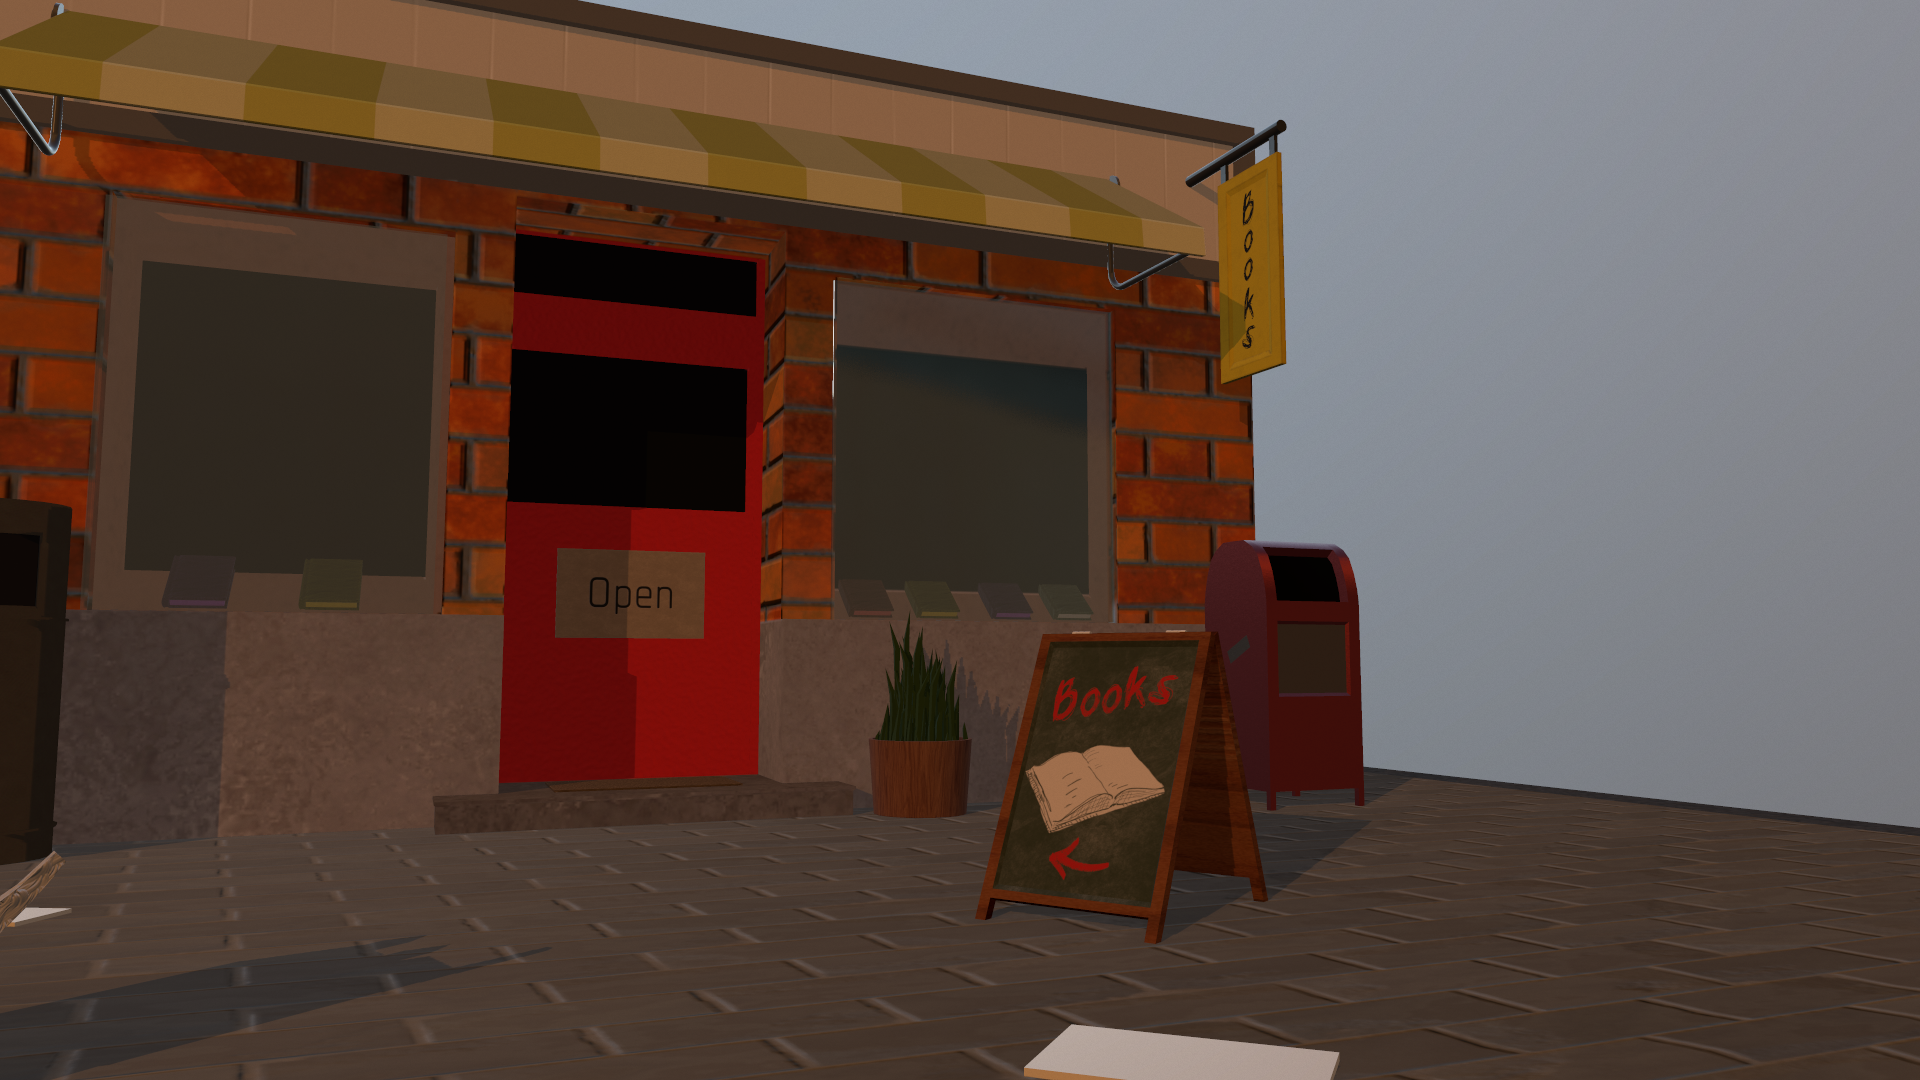
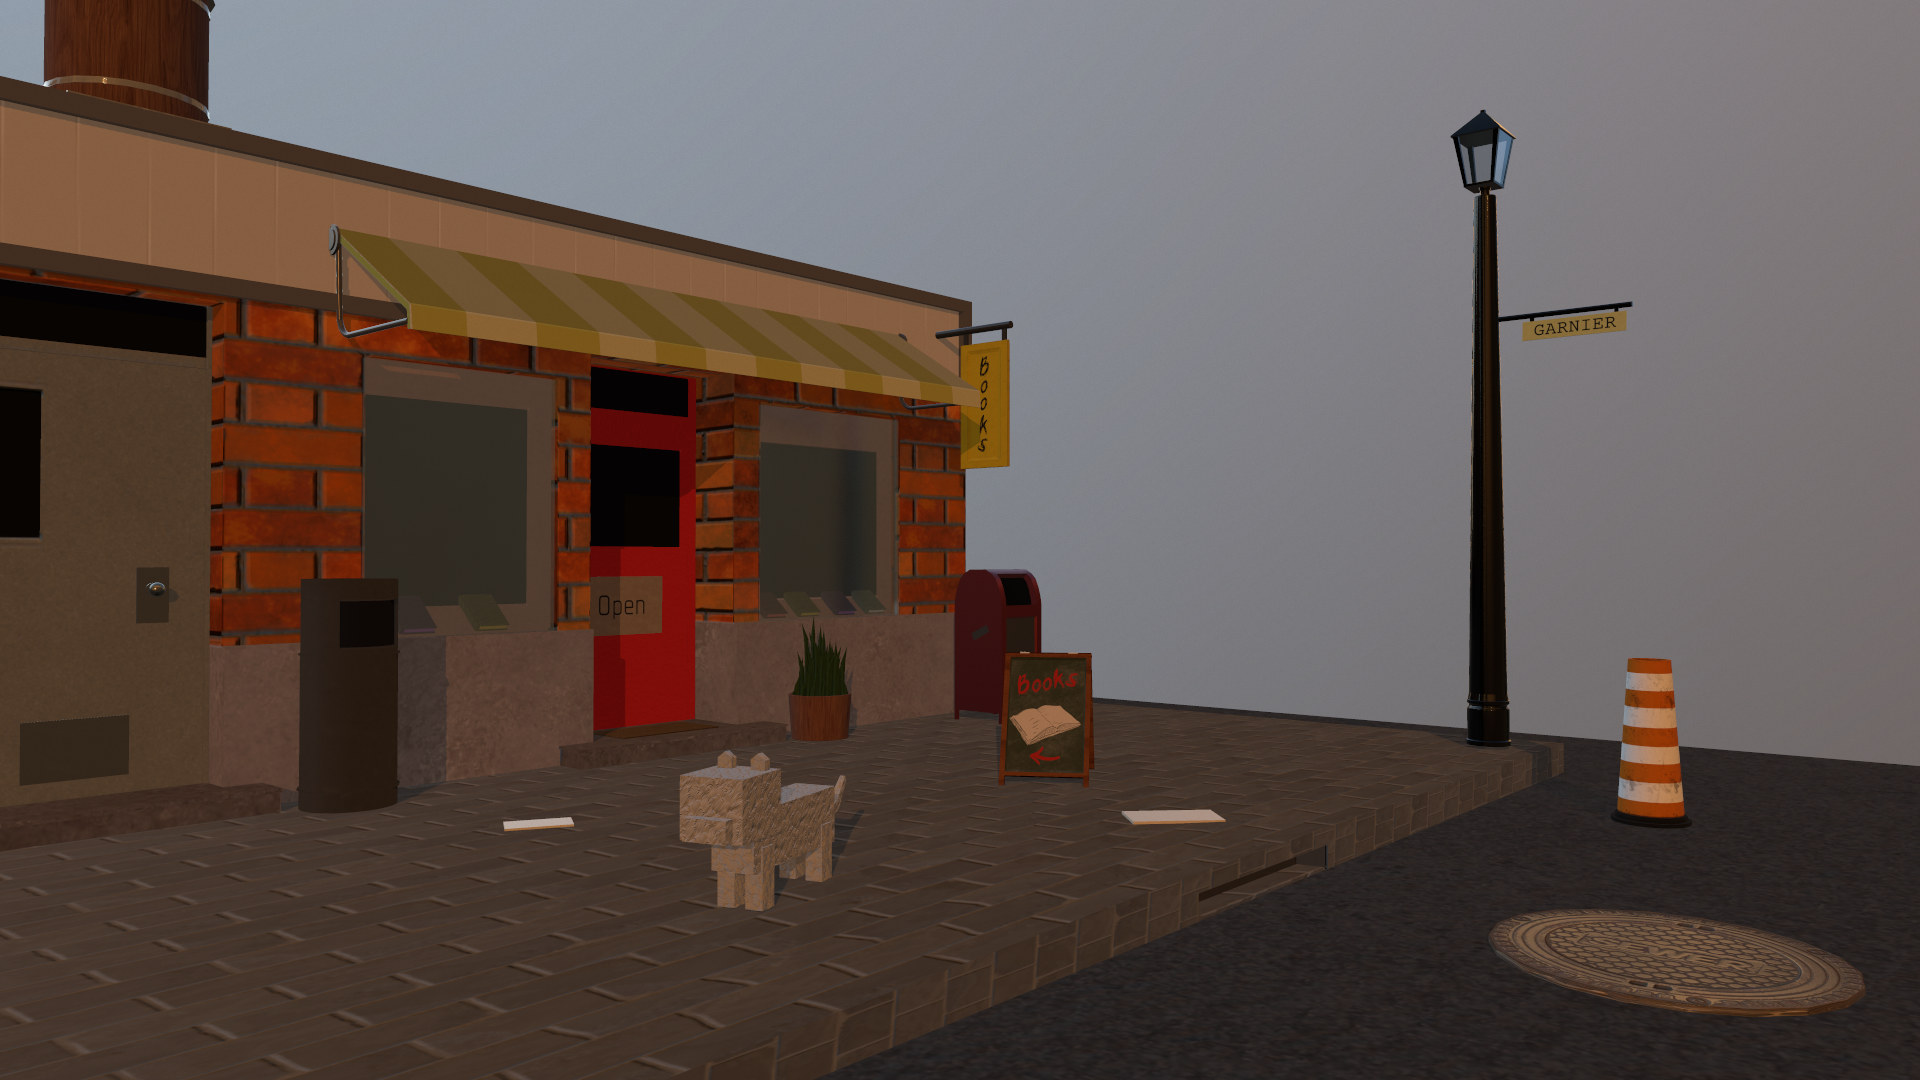
Rendered in Marmoset Toolbag 3
The above images are different from the render that you saw at the top and that is because I wanted to test myself a bit with my lighting knowledge and see if the final model would have a different feel to it than the bright rendition of the original image.
The final product is something that I really had to take a few days, ponder on, and come back to. I felt like I could have done more, but I was also referencing and interpreting off of a 2D image that was not mine. This was not a project where I was having to re-model things, which I tend to do often, nor was it a project where I did not believe in the end result. I wanted to trust in my modeling skills and try (which I succeeded in) to do things right the first time around. Whilst I know some models, you will have to go back every now and then and make subtle changes, I really wanted to see how far I could take this project if I did not constantly go back to fix little details.
As I stated before, this was quite an entertaining process. I did have issues with UVs not rendering out into my FBX files, Substance Painter not wanting to cooperate, and even Marmoset Toolbag crashed from time to time while rendering out my insane lighting. But, overall, I had a really lovely time modeling this piece and I am more than happy with the outcome. It really did teach me a lot and definitely put my texturing knowledge to the test. This was actually the first time I managed to texture glass and it was quite the rewarding time!
I really pushed myself to a limit I did not think I could reach and I am looking forward to what my next project may bring me!
Rendition of Brian Moon’s Low Poly, Spring in Japan
Tools used: Autodesk Maya, Substance Painter, Marmoset Toolbag 3
Modeled Utilizing Autodesk Maya, Textured in Substance Painter, Rendered in Marmoset Toolbag 3
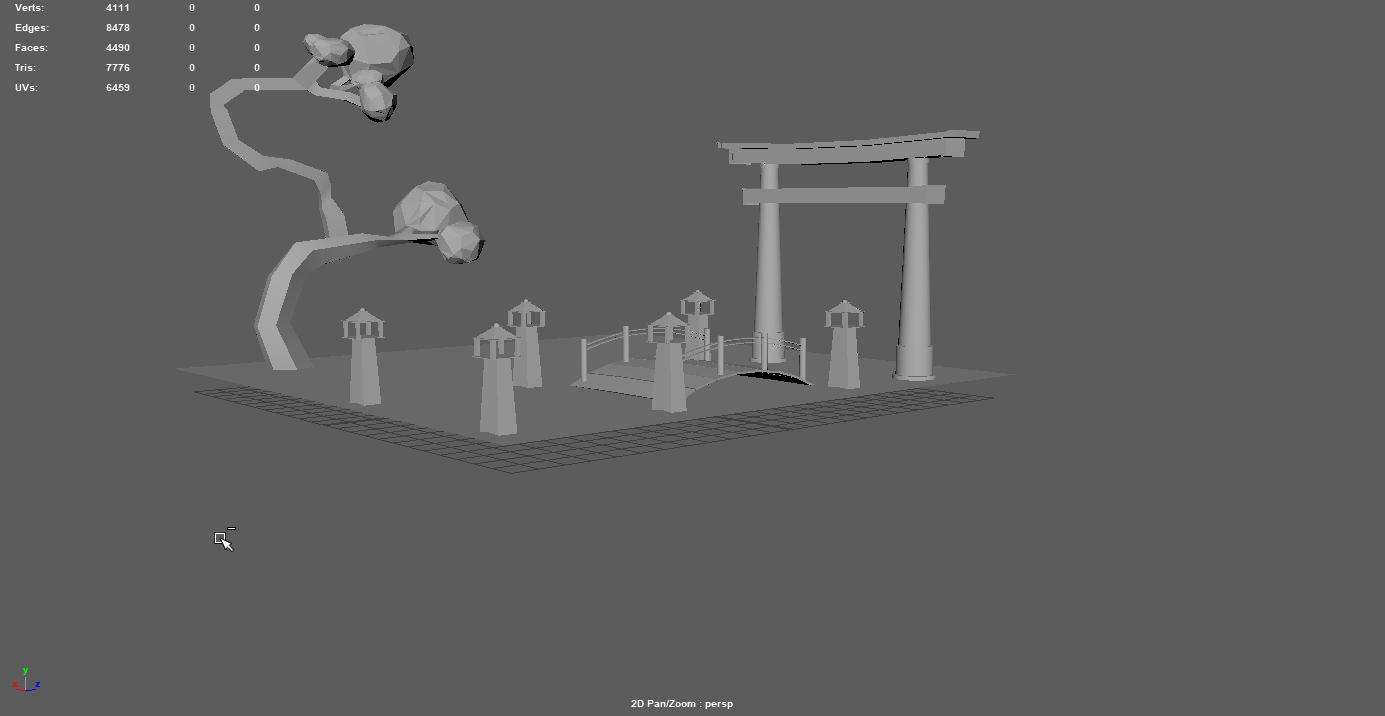
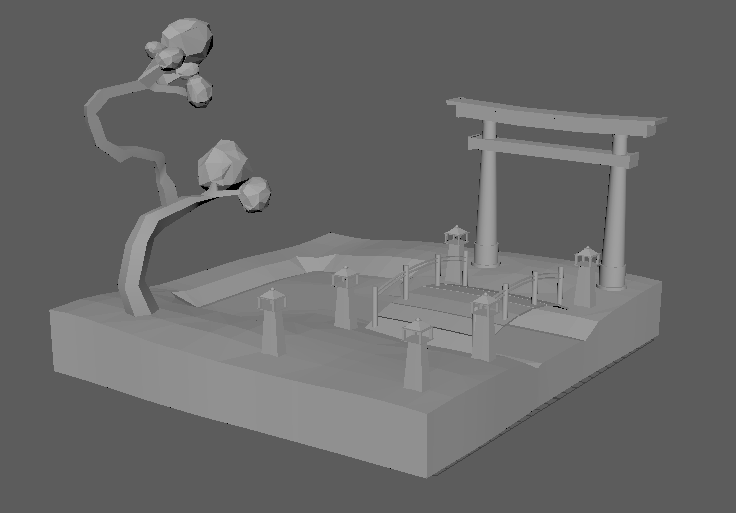
During this mini-project, I wanted to really challenge myself more than I ever have.
As a person who does not normally gravitate towards low-poly design, I wanted to test the waters of my modeling ability.
Although the subject is simple, I did take my time on this environment piece. I wanted to take my time to properly walk myself through the process of low-poly modeling.

Reference from Brian Moon
I first started out with a simplistic white box via Autodesk Maya and then proceeded to add details in the days that followed which is seen below.
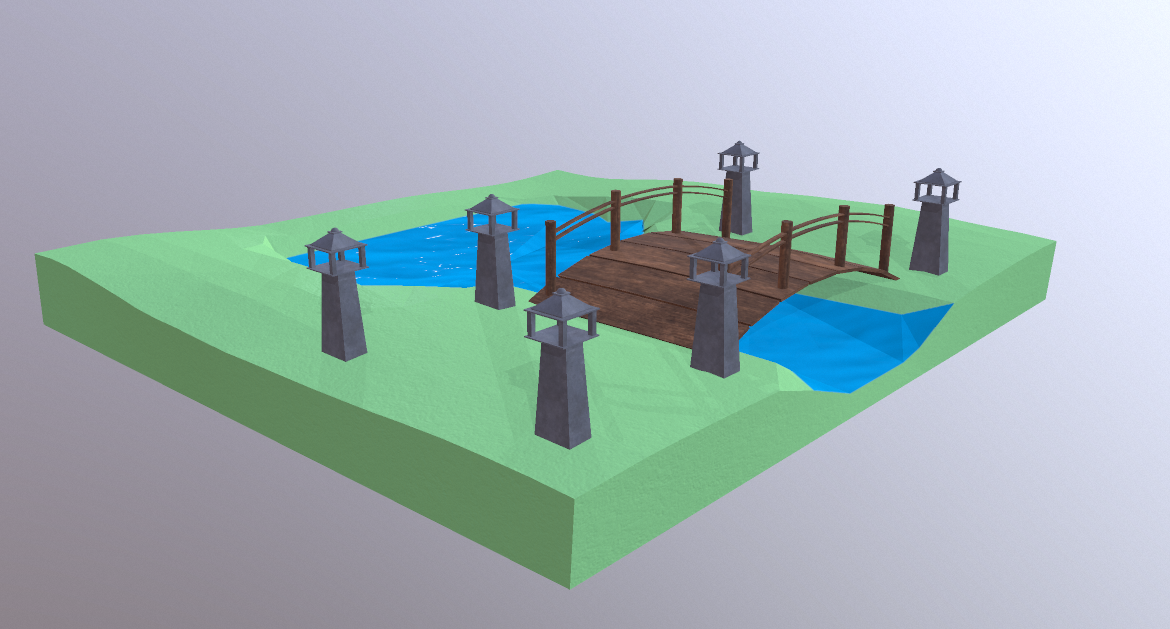
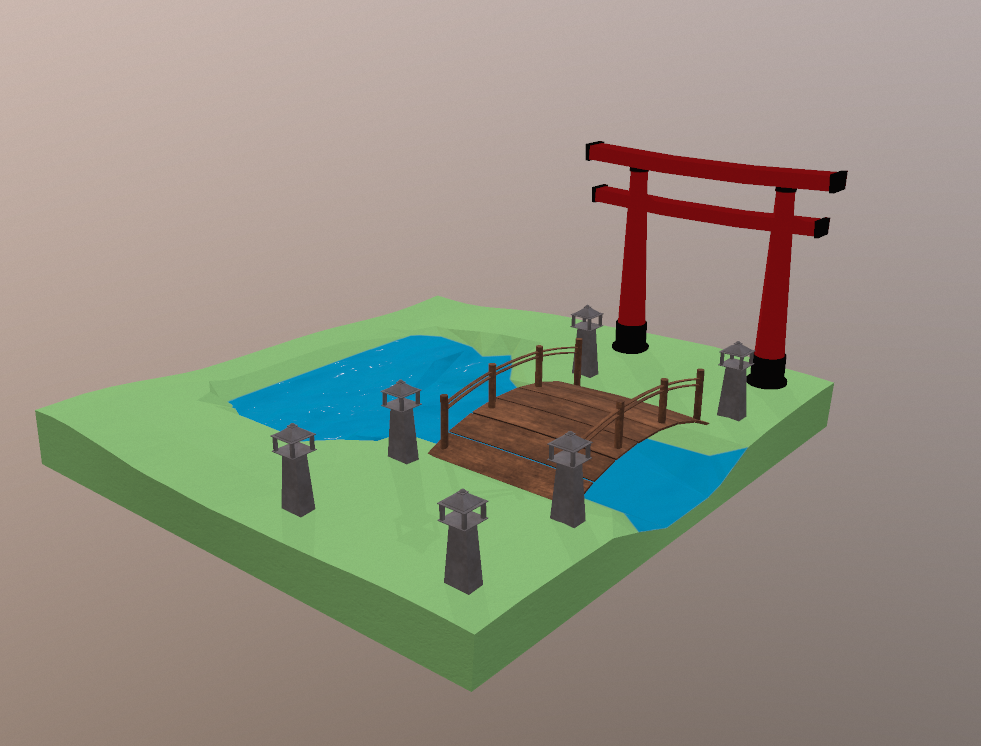
I did end up texturing the same day I seemed pleased with my environment, but the more I looked at it, the more it seemed off from the original reference I was following.
Something about my texturing style and the way I was going about things just did not seem right.
I ended up taking a step away from the model for a few days and came back to it with a fresh mindset towards what exactly I wanted to get out of this project. I had pushed myself completely out of my comfort zone to get to where I wanted to be at the end of this process.
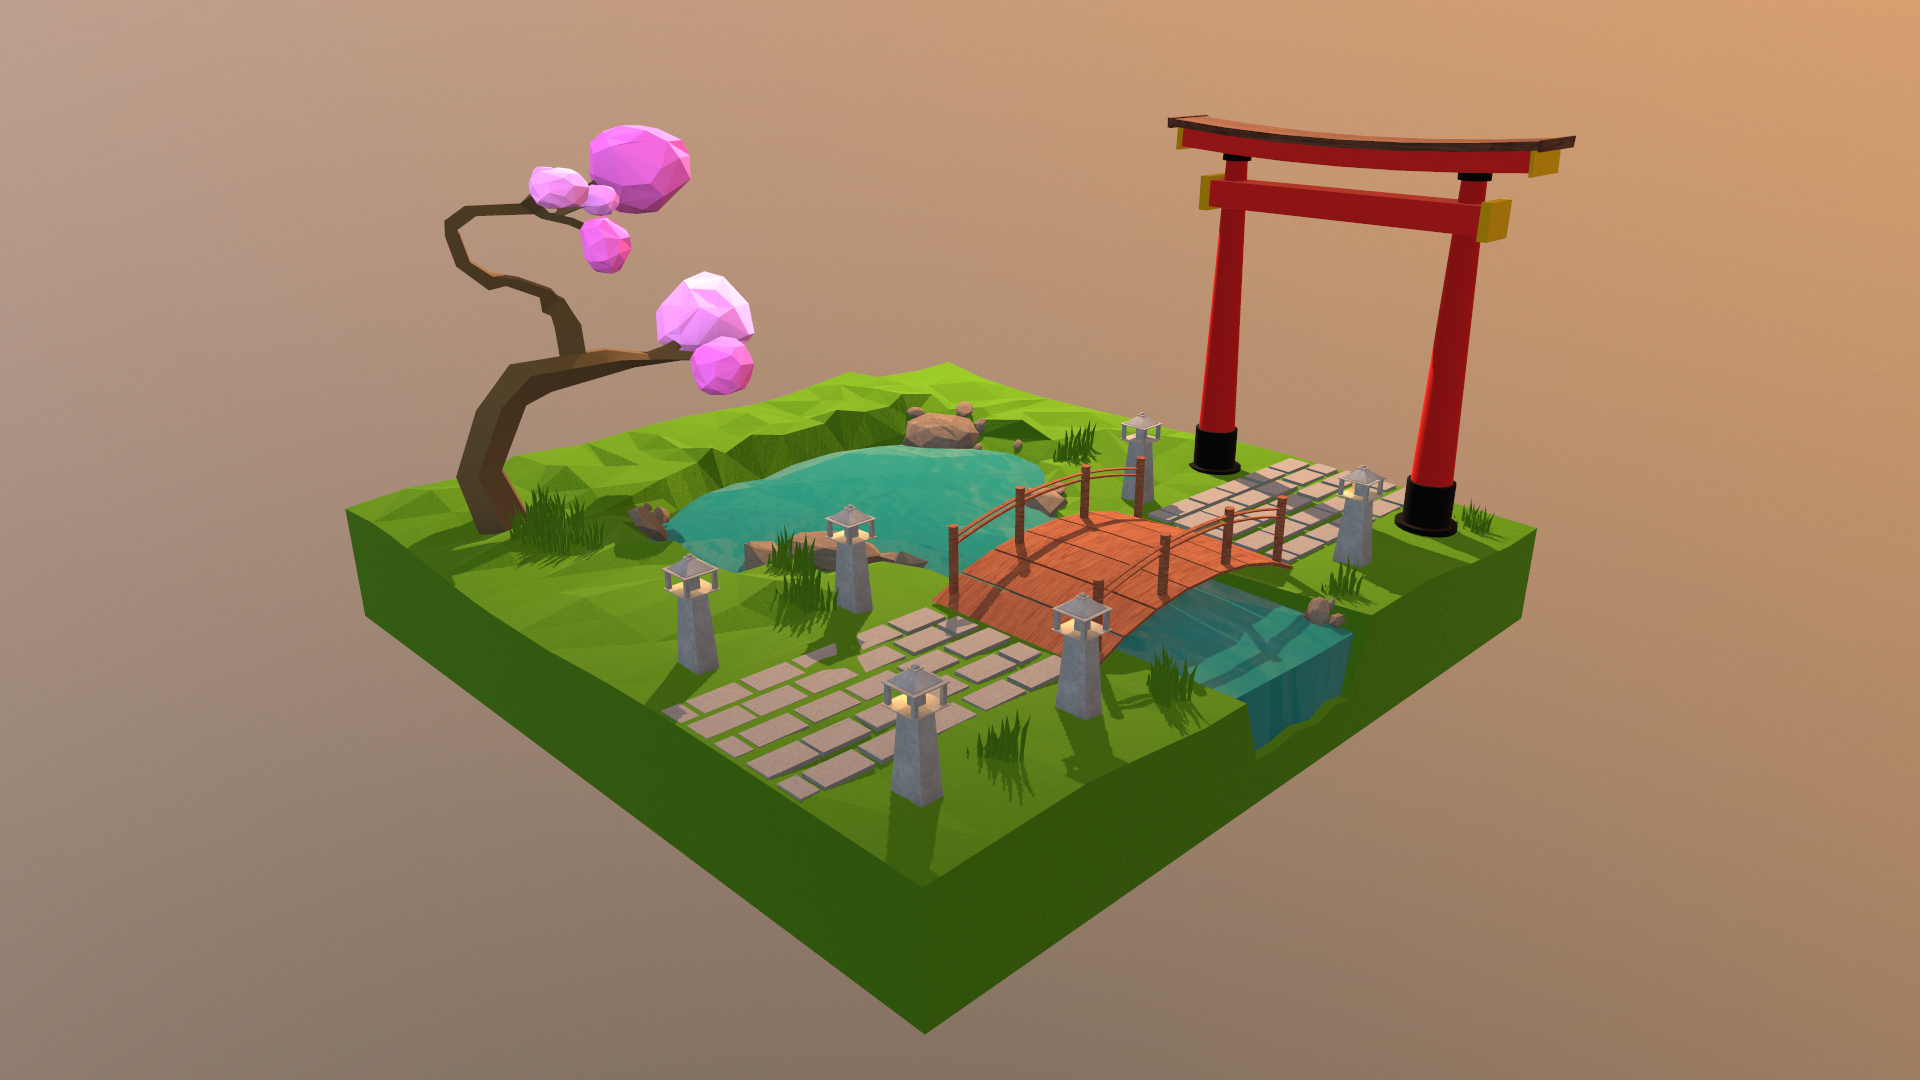
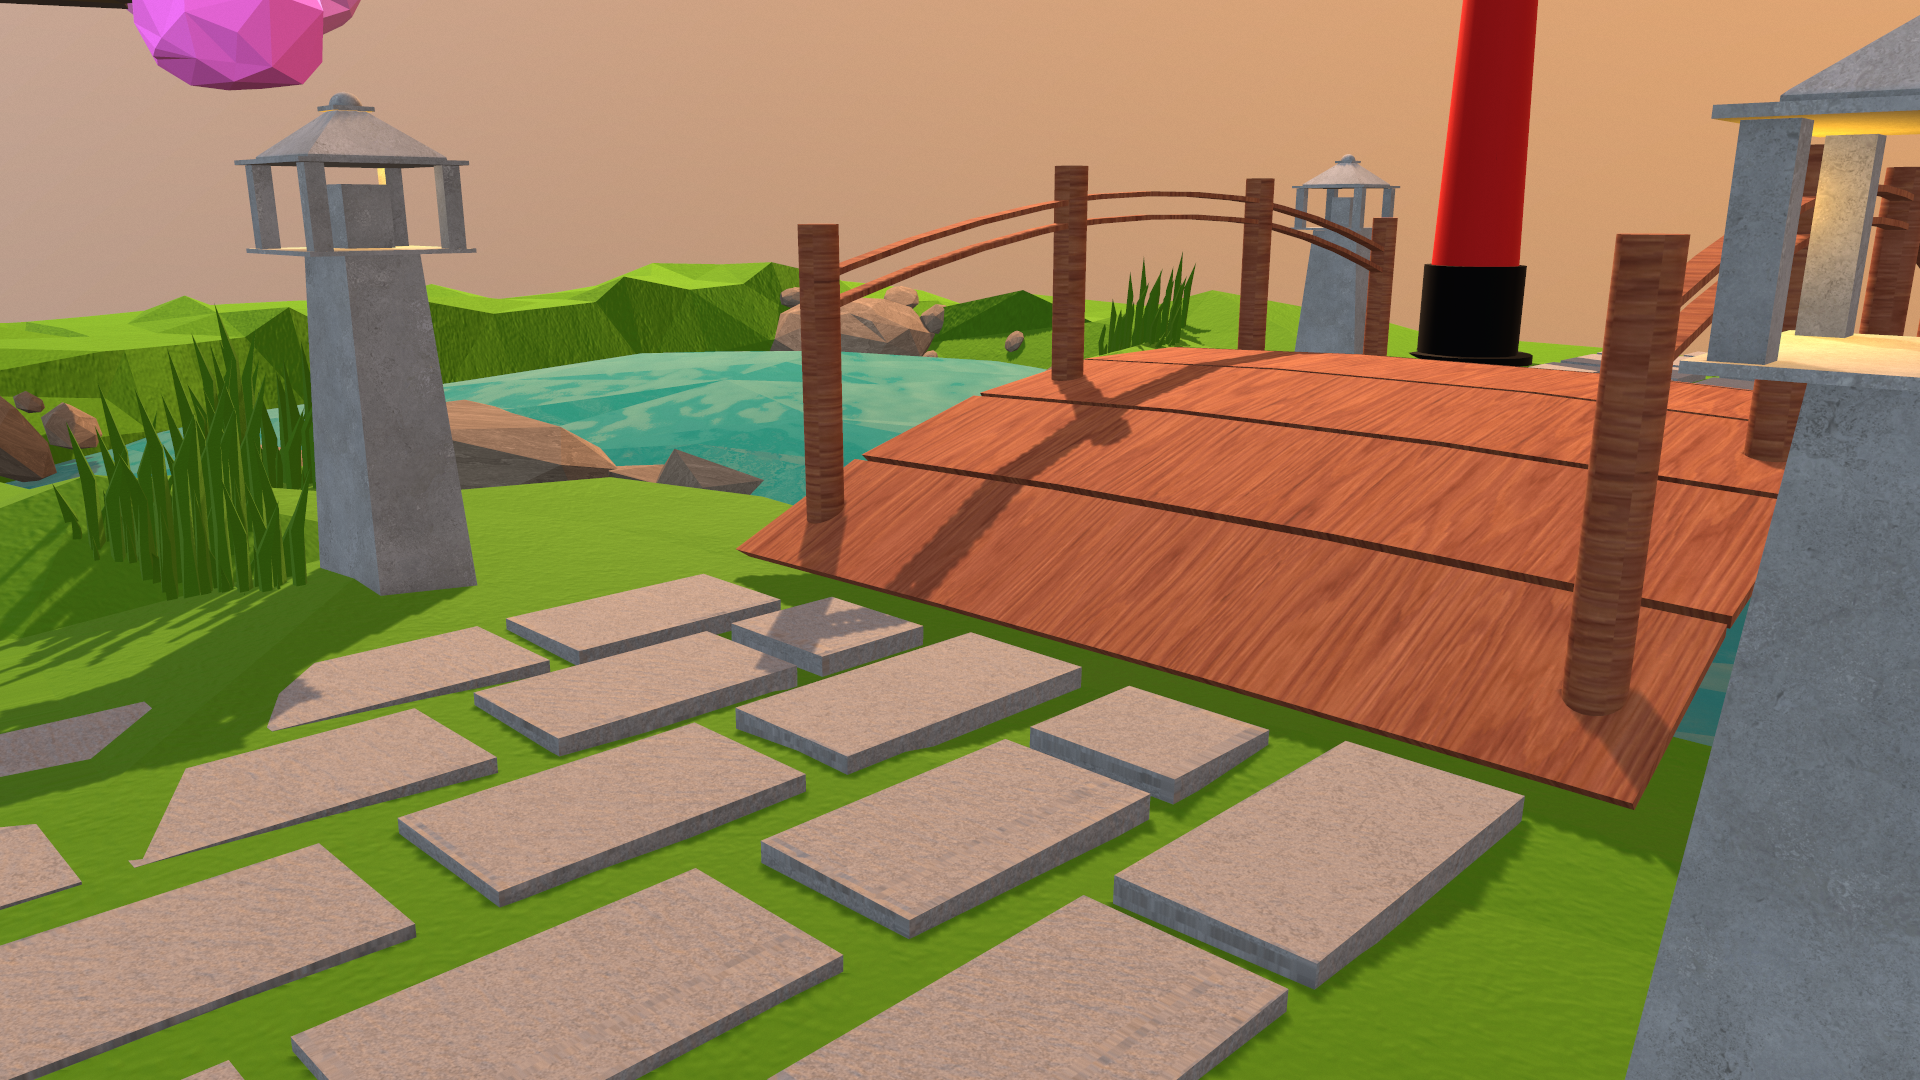
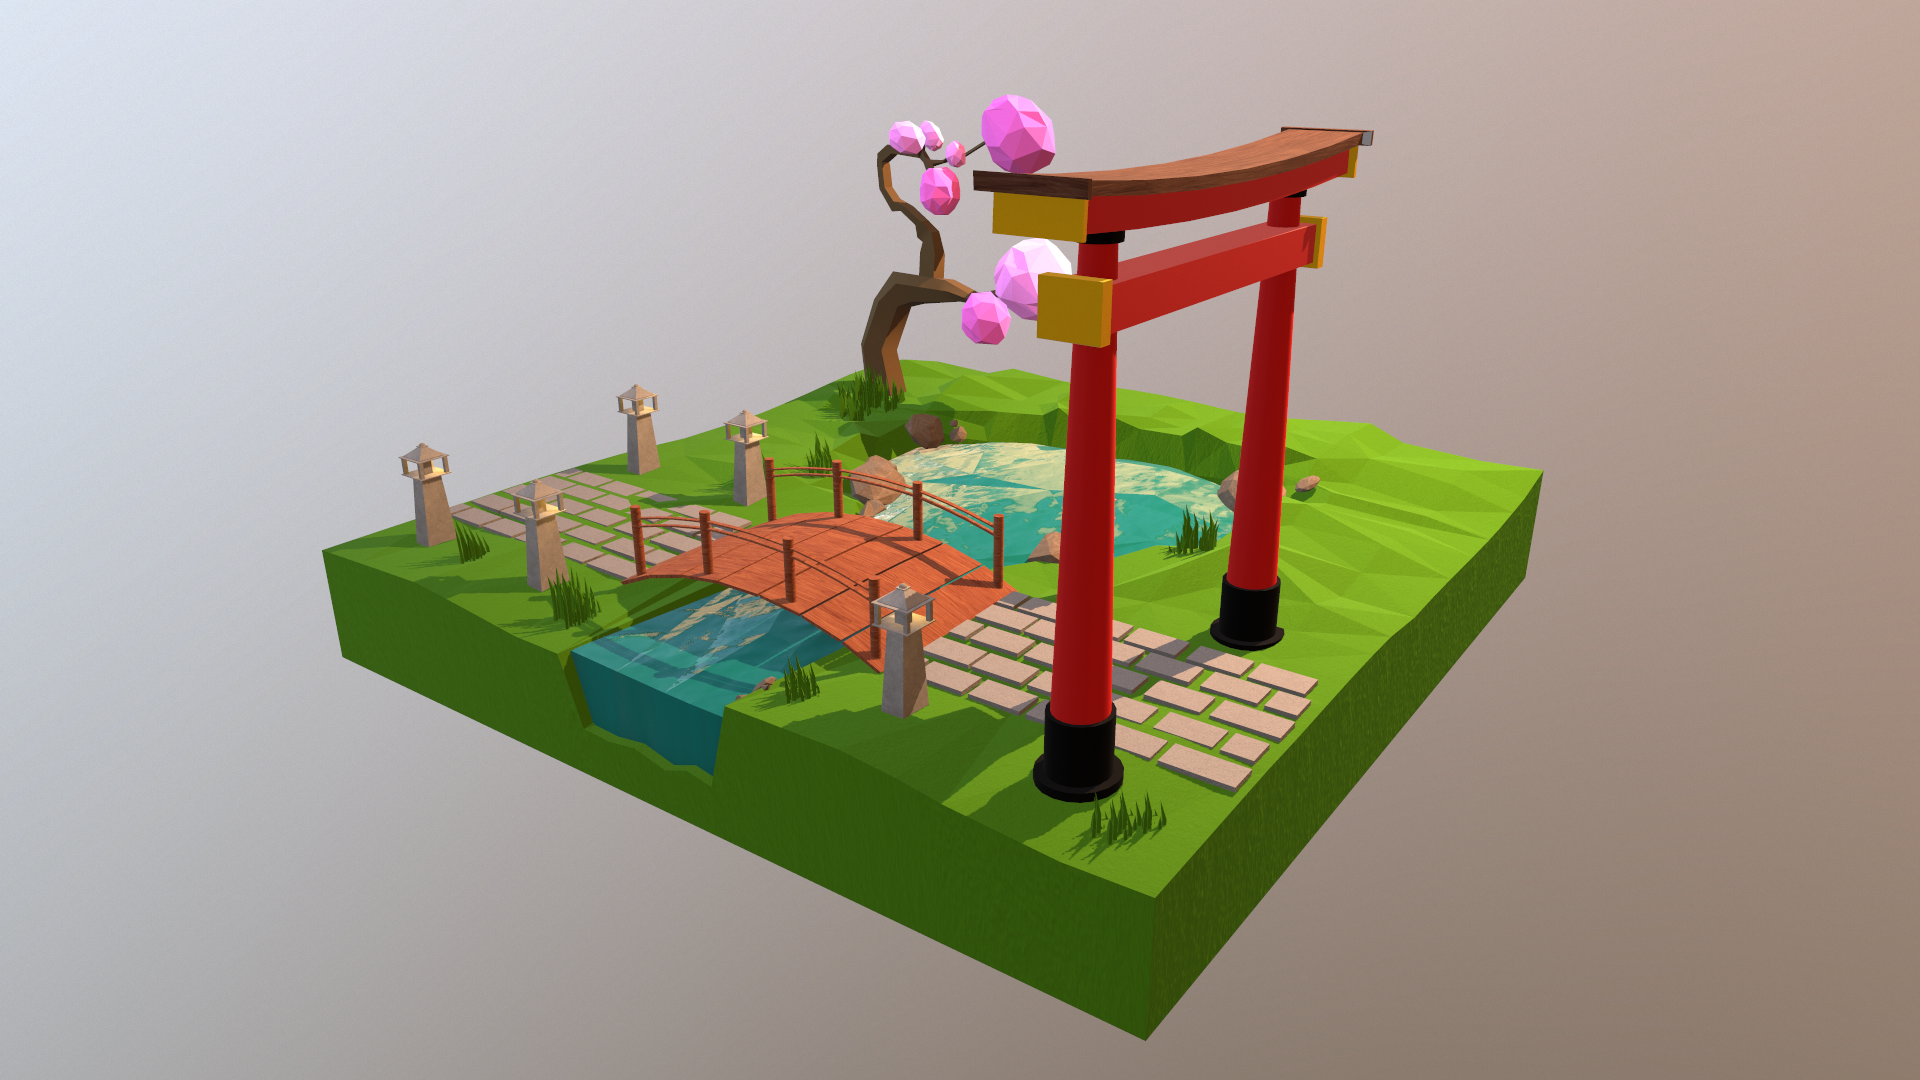
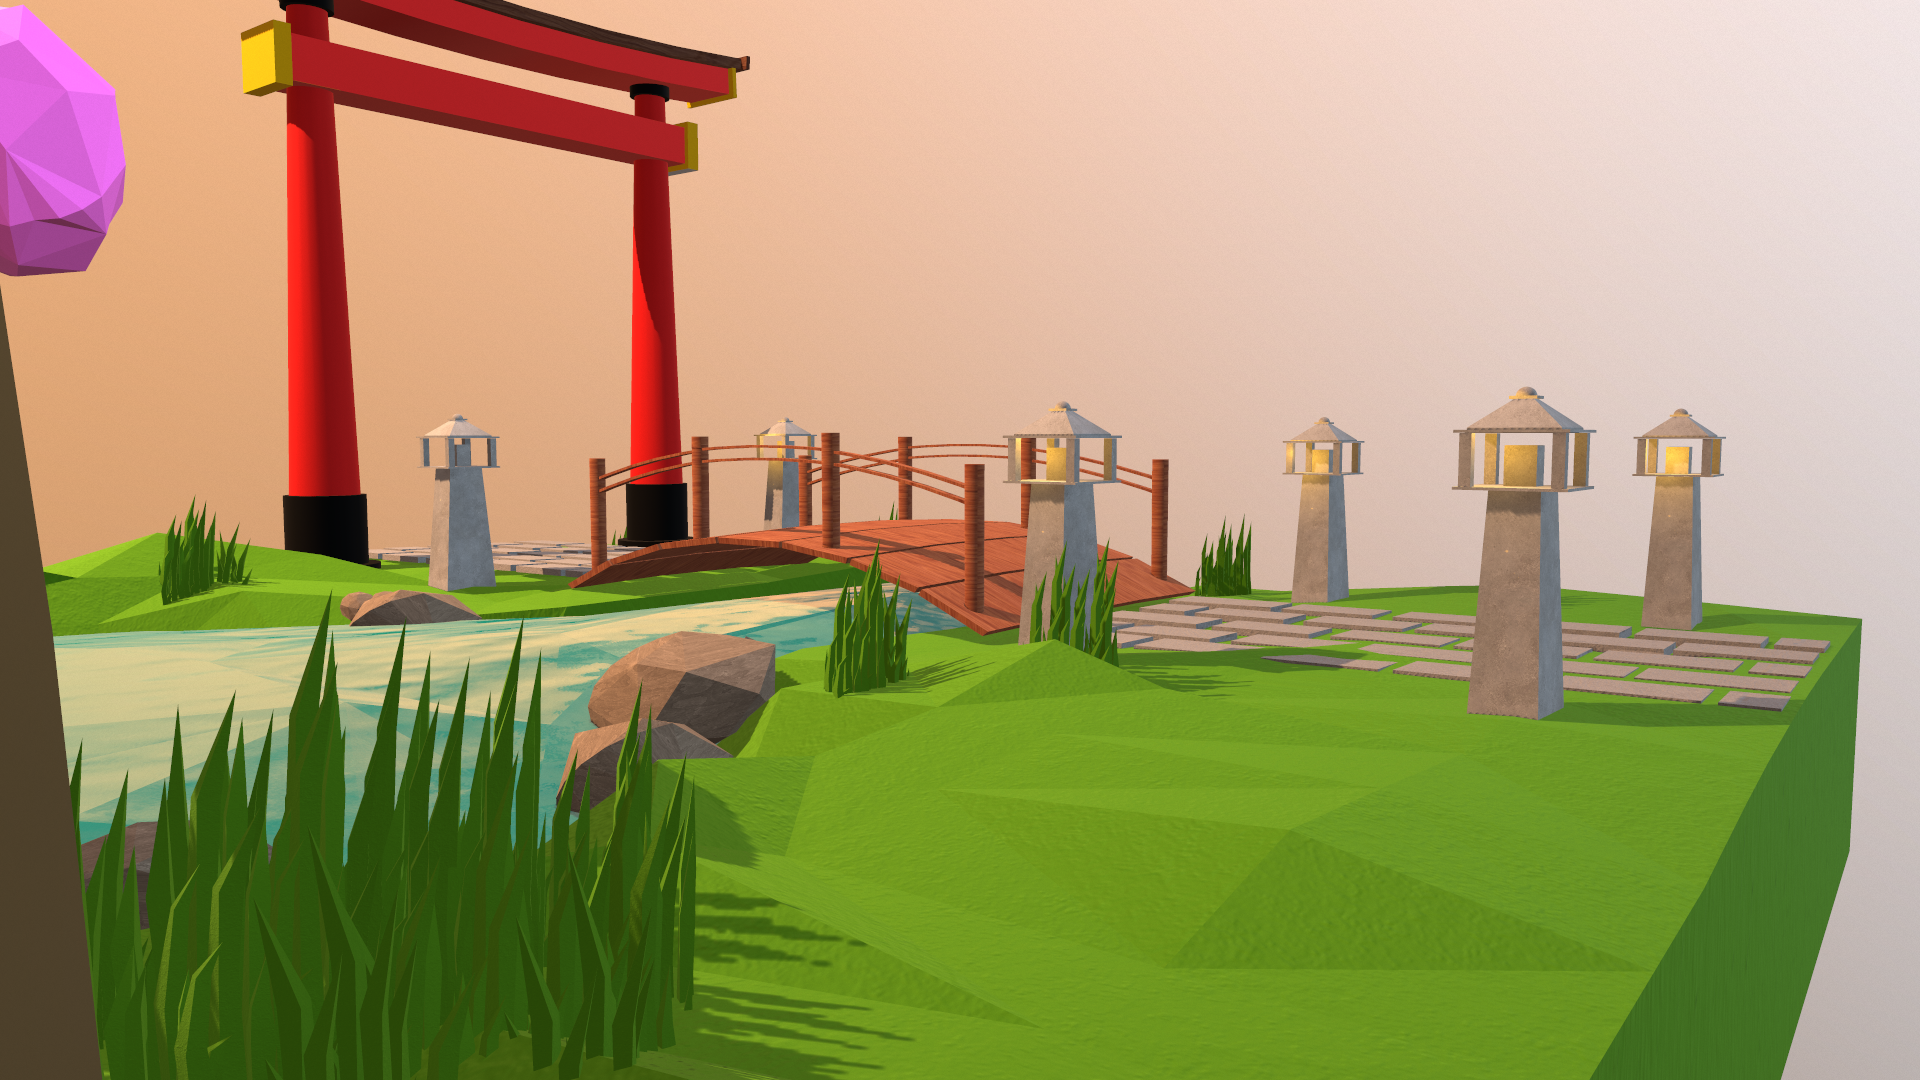
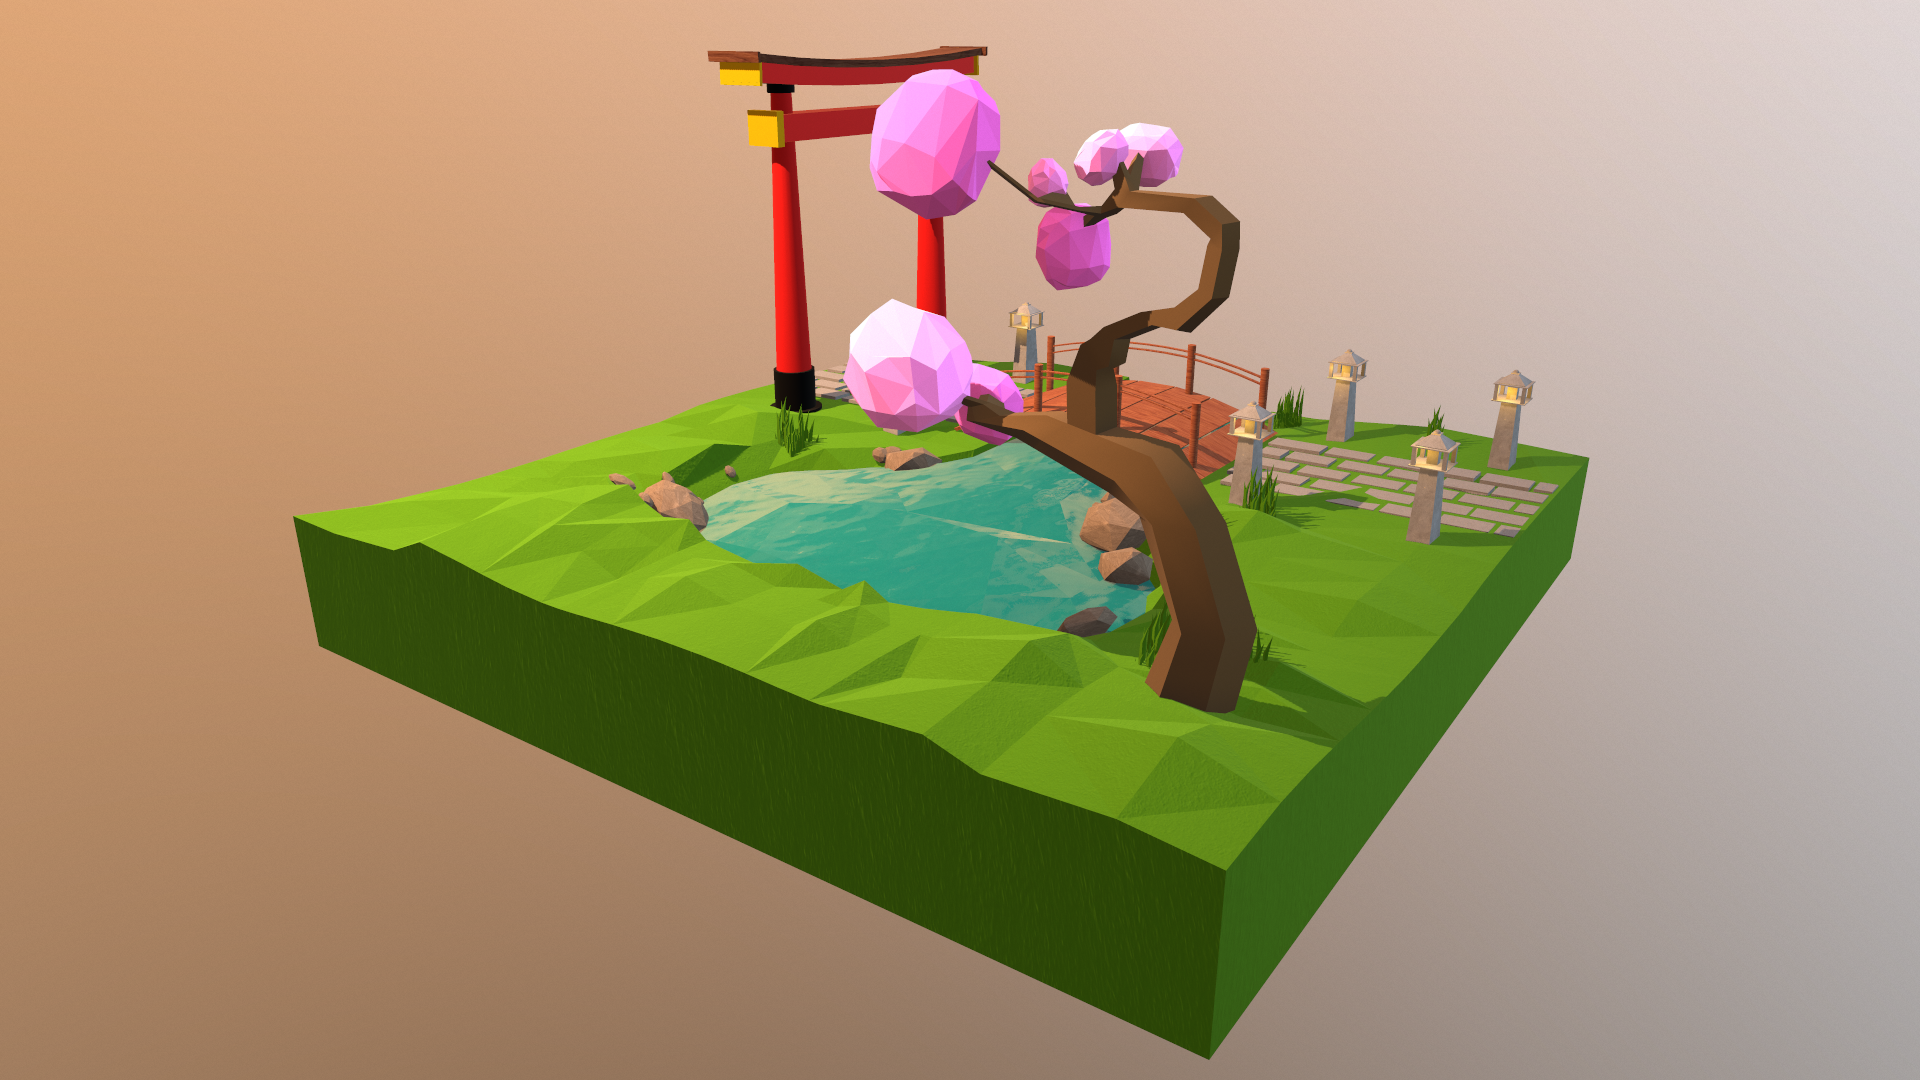
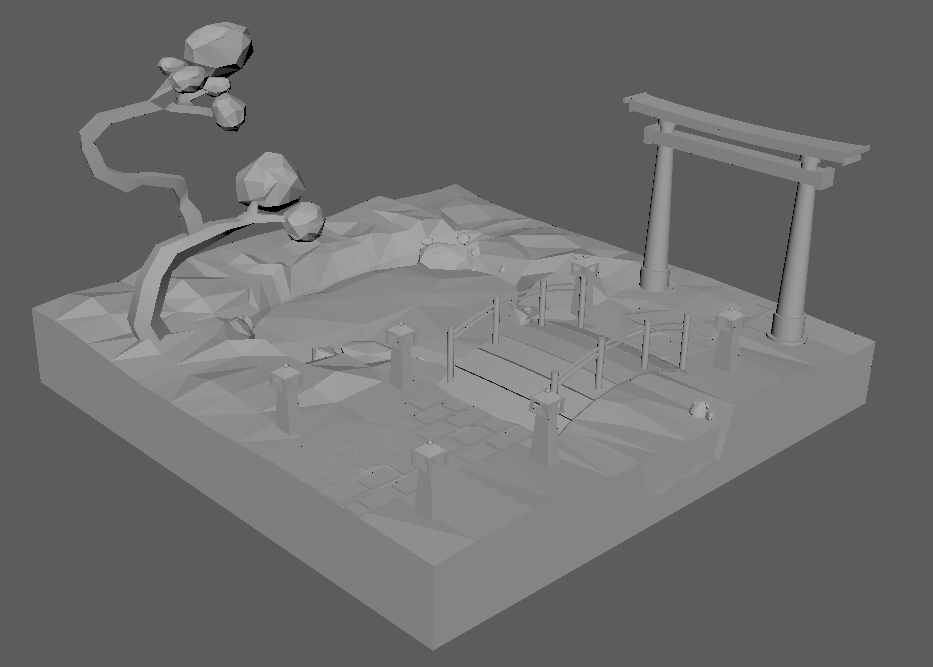
Rendered in Marmoset Toolbag 3
When I came back to the model, I realized what I did wrong such as: making the terrain incredibly flat, not really caring for the layout of the model, and improper UV techniques. I believe the biggest issue overall was that I was forcing myself to work fast for a deadline that simply did not exist.
I did learn a lot when I walked away. I realized my mistakes, as I am not a perfect person, and sat down once again and pushed forward.
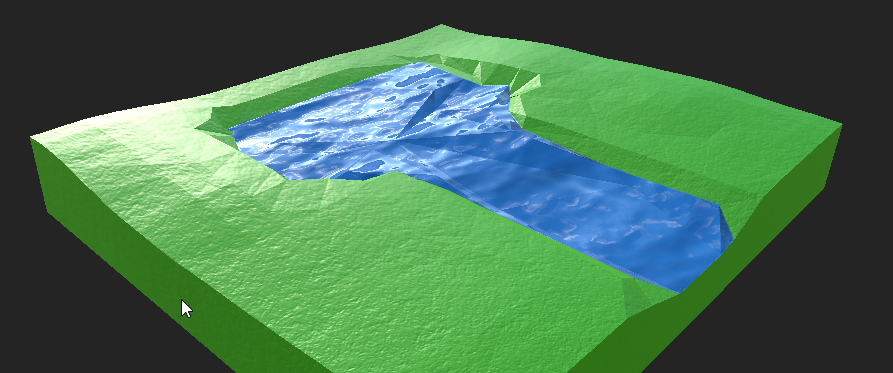
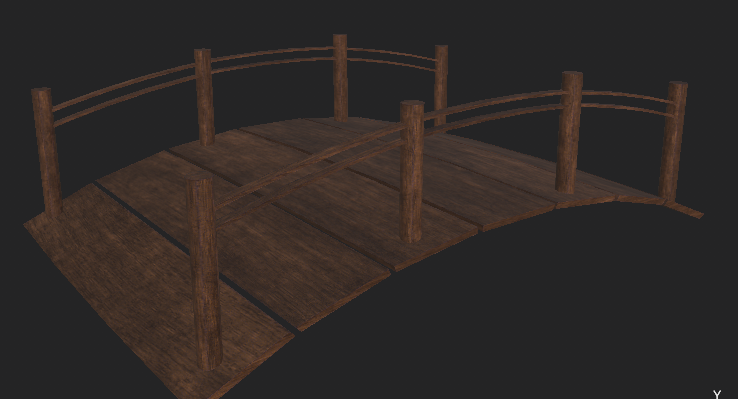
I took my time this lap around. I UV’d to the best of my ability, textured in a direction of what I thought fit, not only my style, but also represented the challenge I held myself to, and focused on each edge, vertex, and shape. I am quite impressed that I managed to take creative liberty by creating my own textures and not going straight towards a “flat” color which most low-poly models use. I also wanted to utilize different techniques to achieve a low-poly look and even working on my lighting abilities such as making sure shadows face the same way and lighting up the lanterns.
Overall, during these past 4 to 5 days, I expanded my knowledge for modeling quite a bit. I learned how to properly model in low-poly, surprised myself with my texturing abilities, and even learned how to nicely light a scene. I am happy with the outcome even though it was an adventure to get to the end. I am ecstatic that I saw this project to the end and I am very much looking forward to seeing what more I can do.
Arizon Companies art test
Tools used: Autodesk Maya, Substance Painter, Marmoset Toolbag 3
Modeled Utilizing Autodesk Maya, Textured in Substance Painter, Rendered in Marmoset Toolbag 3
This model is based off a simplified version of an image that Arizon Companies sent to me. They included drawings, dimensions, and what they expected the rendered out model to be.
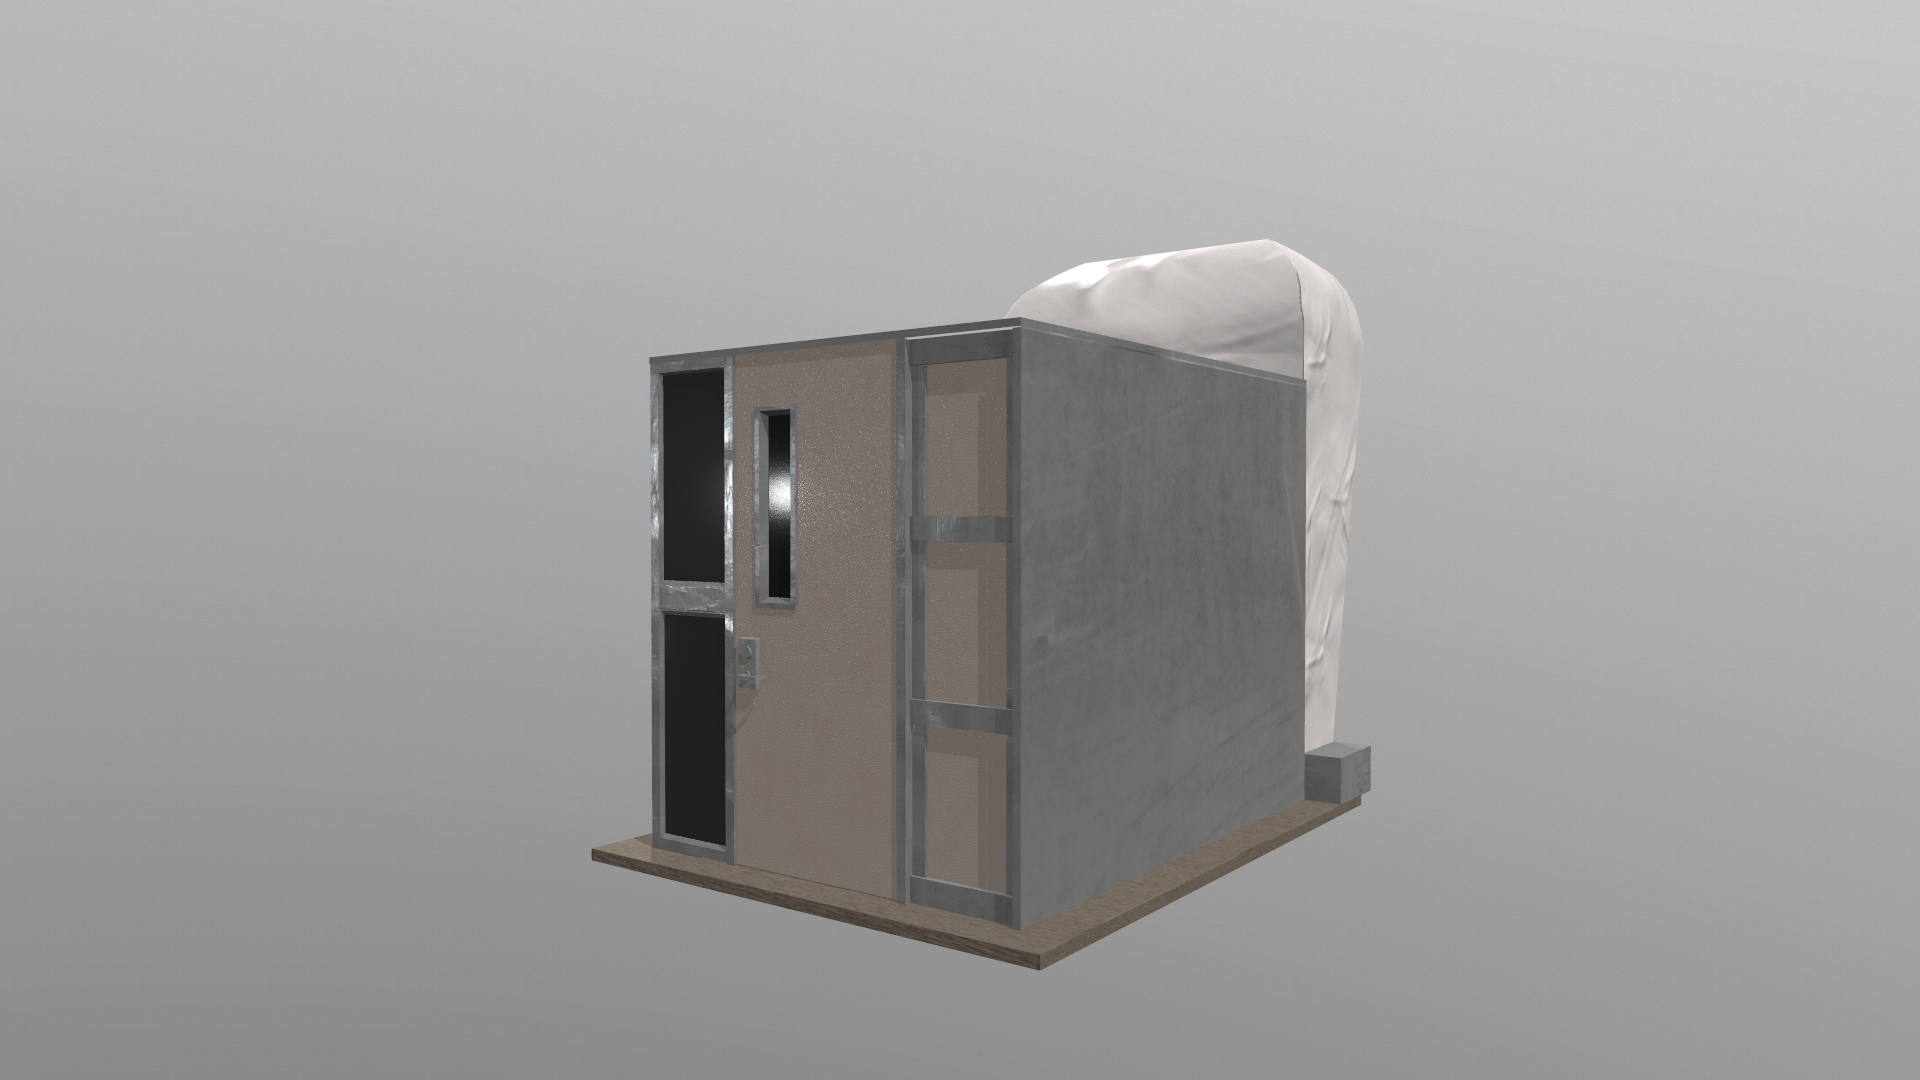

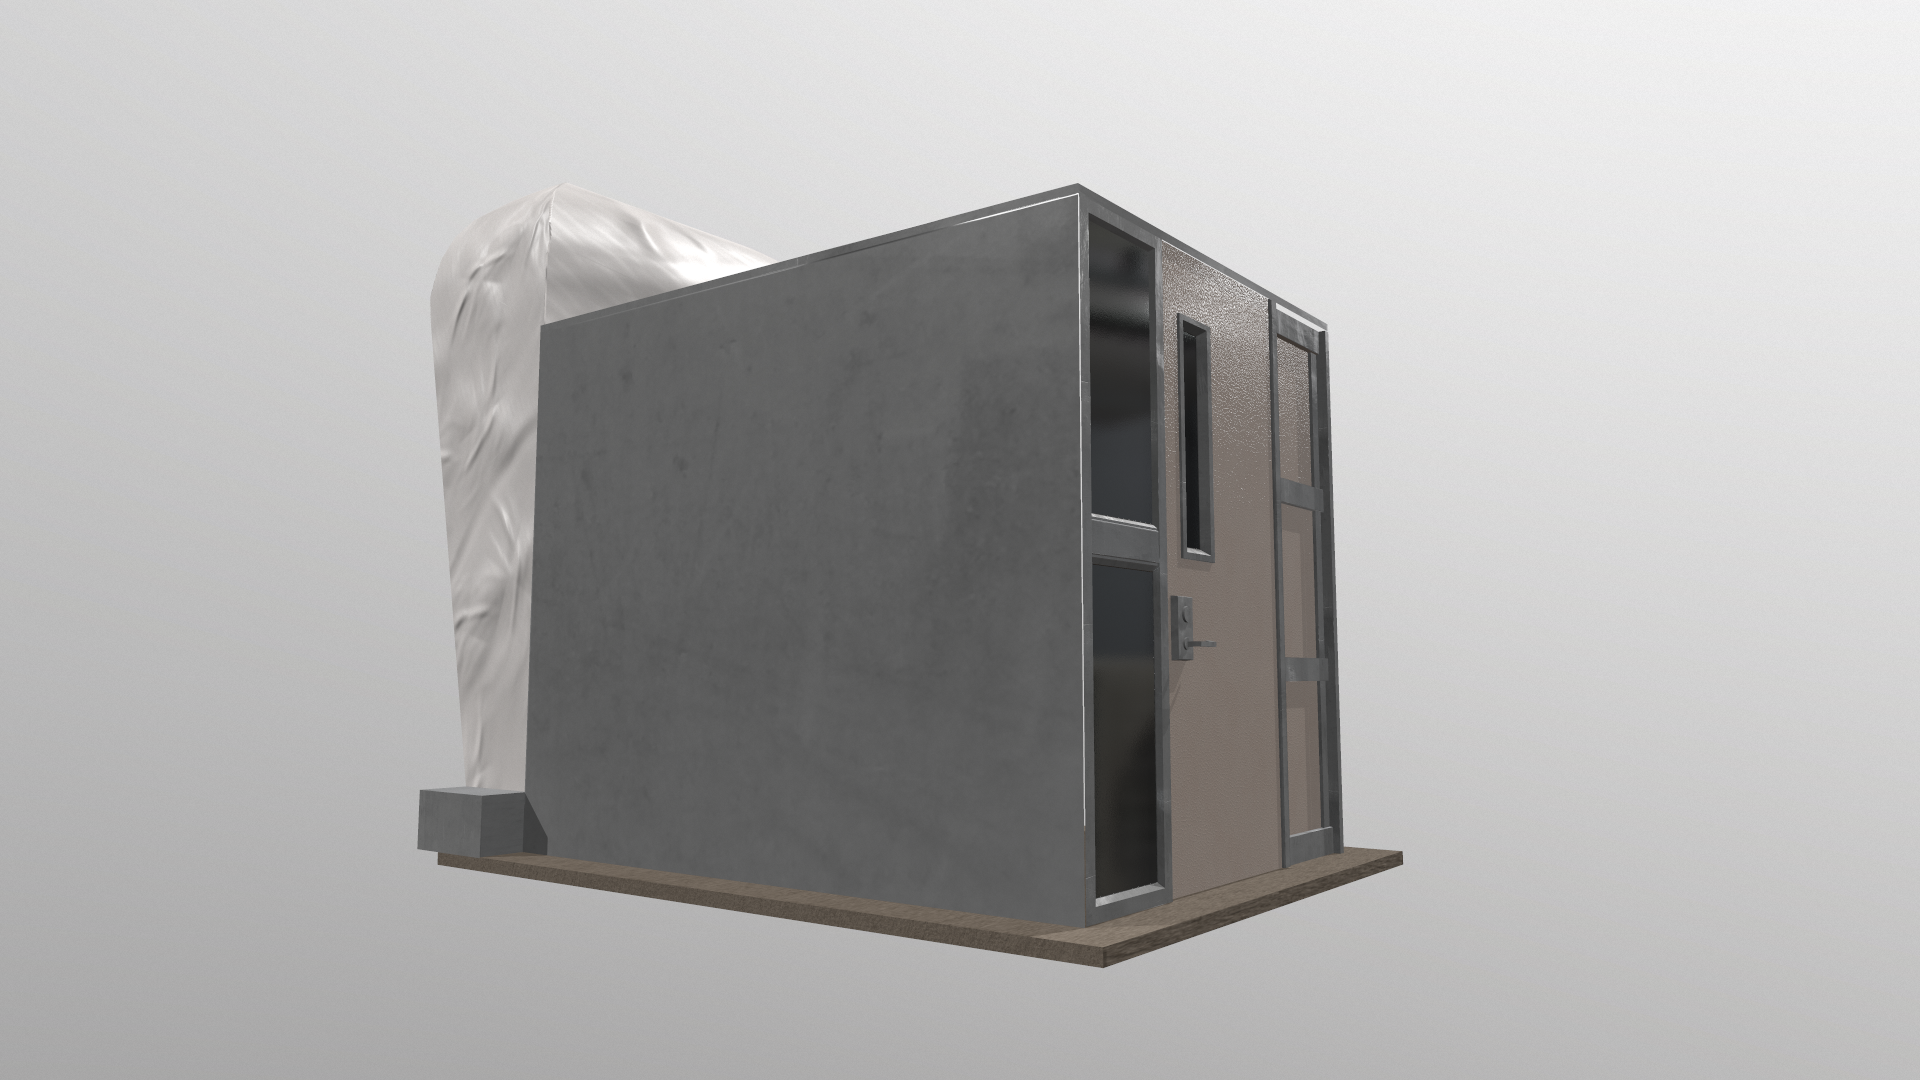
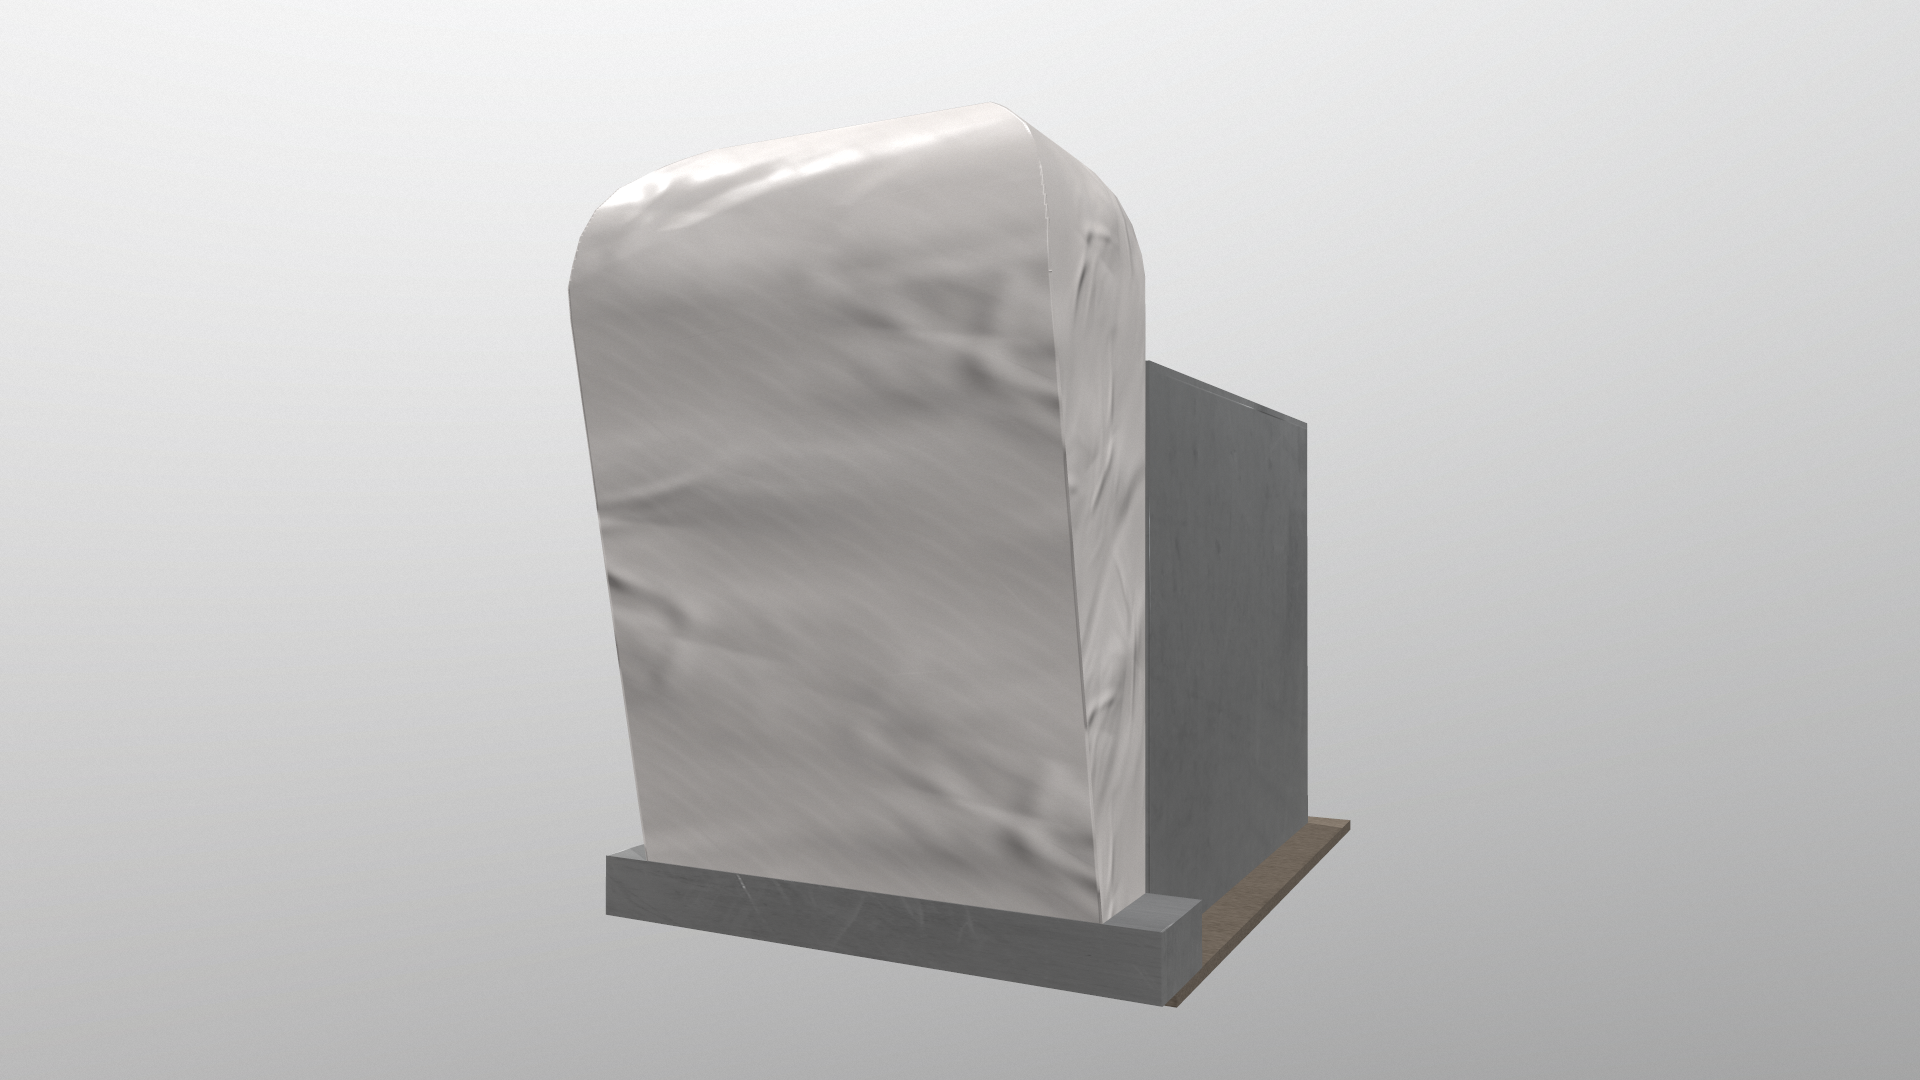
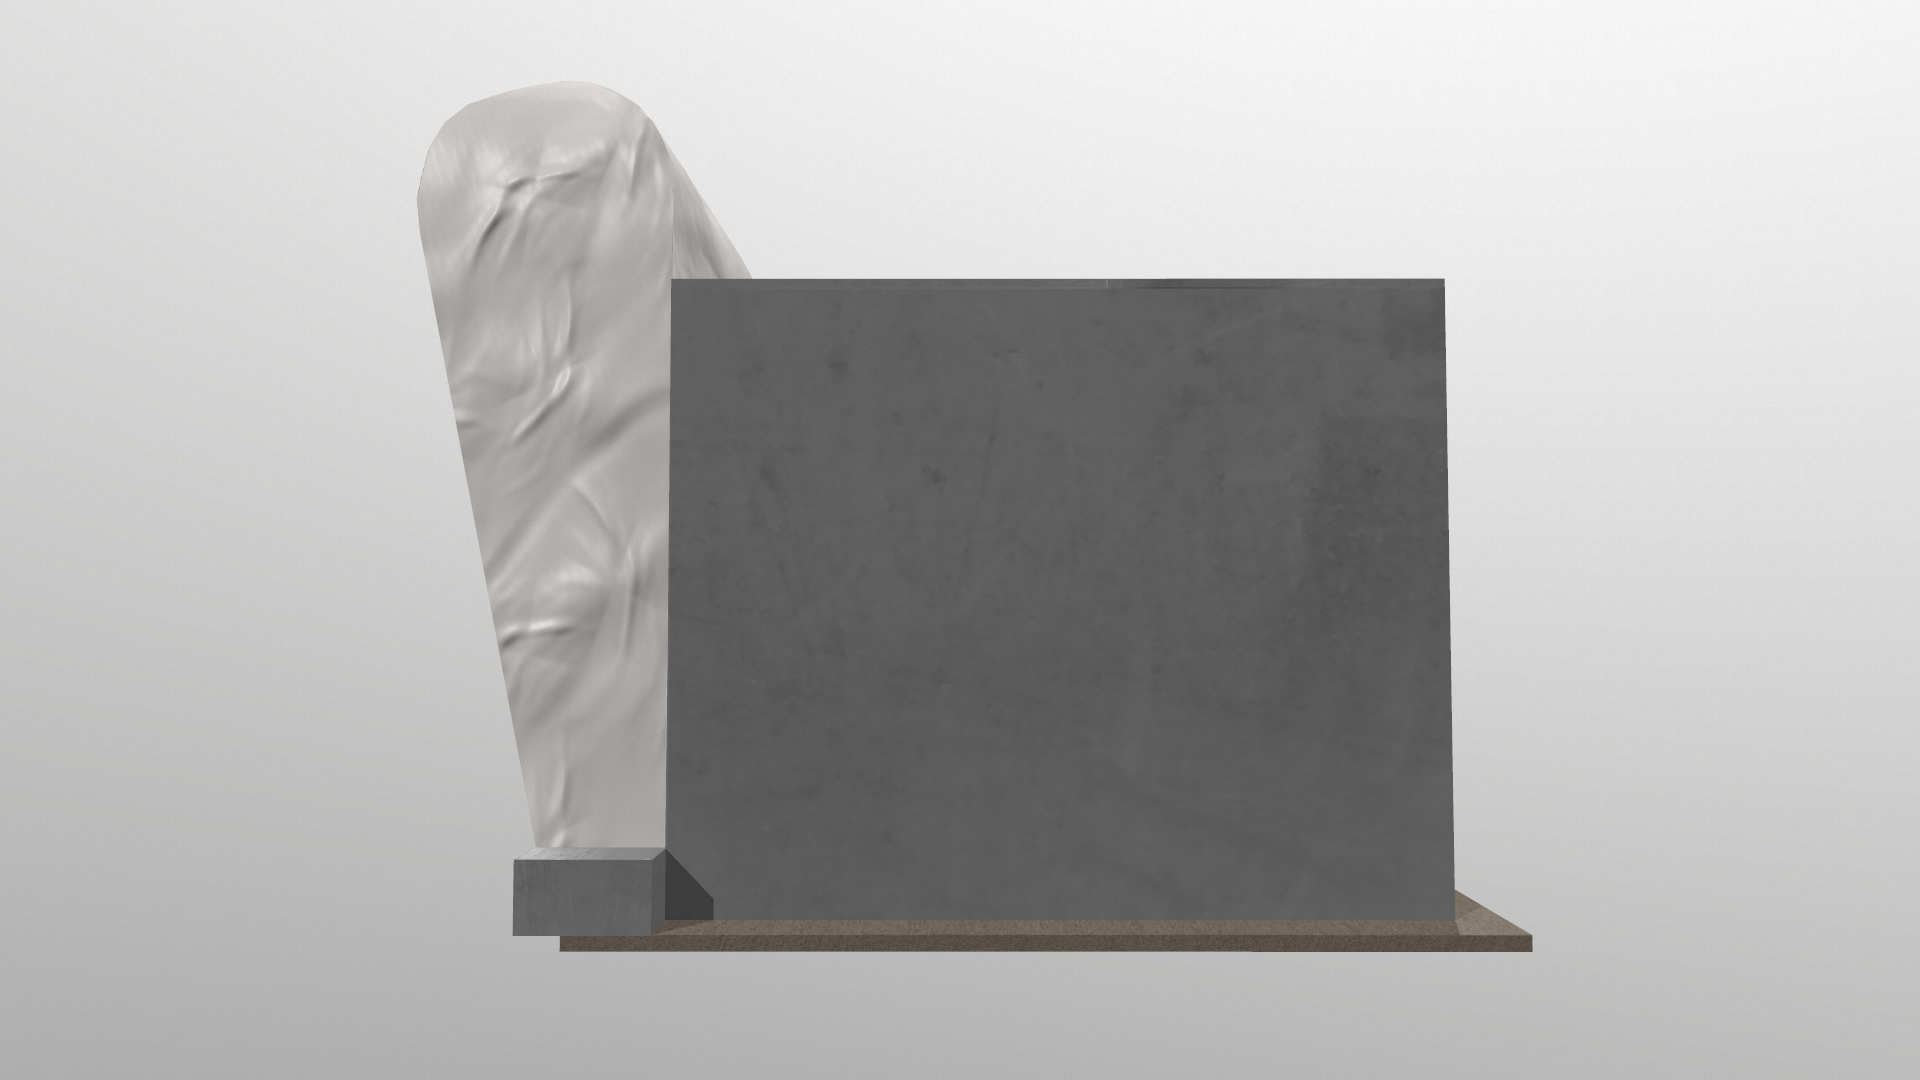
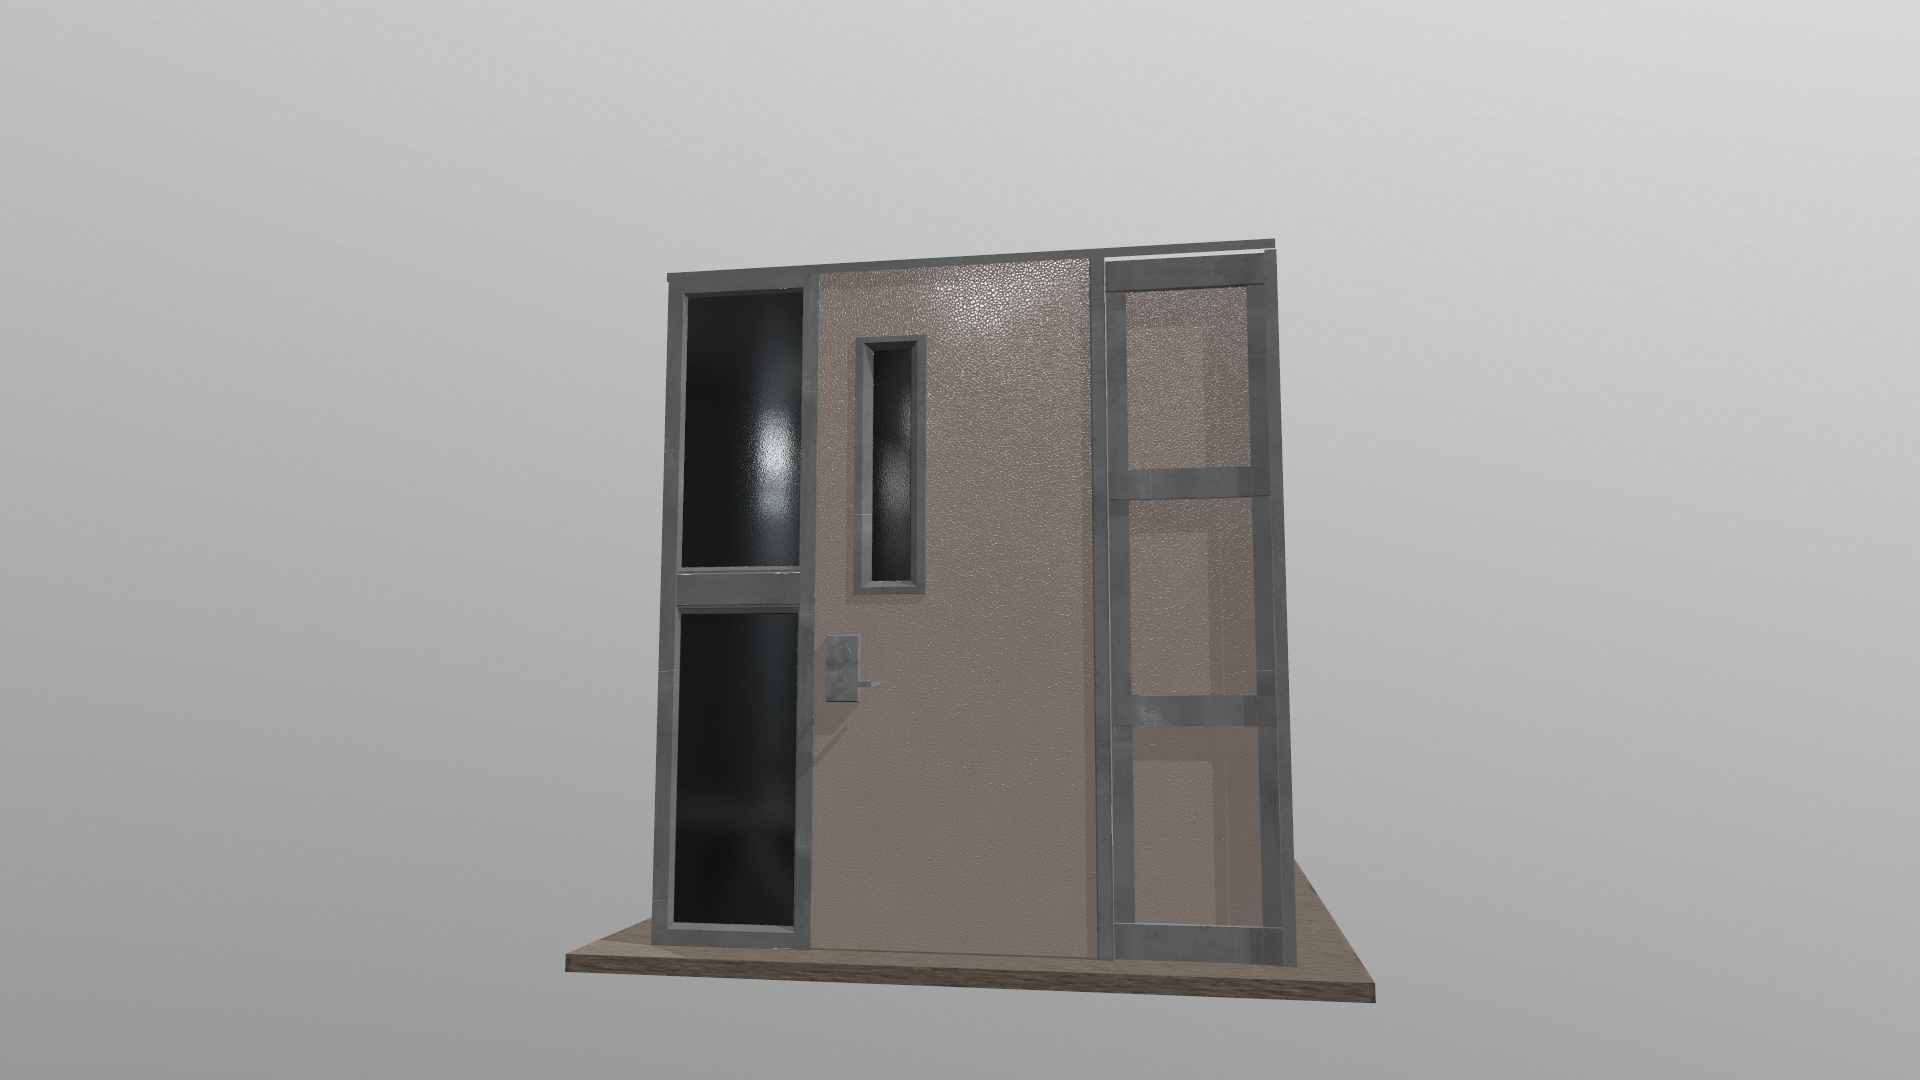
Rendered in Marmoset Toolbag 3